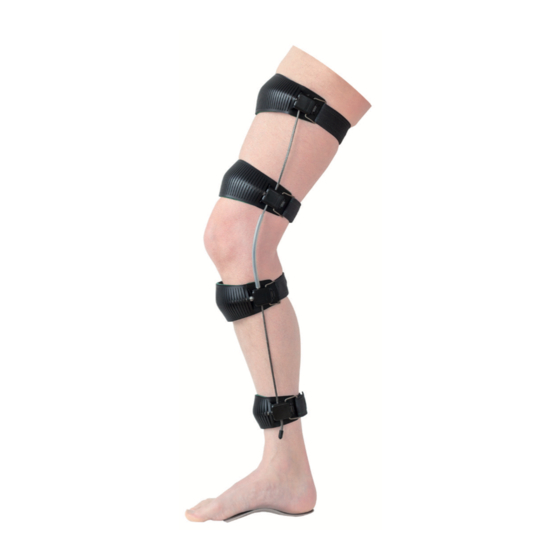
Ambroise UTX-ESC Manual - Page 14
Browse online or download pdf Manual for Personal Care Products Ambroise UTX-ESC. Ambroise UTX-ESC 18 pages. Orthosis

UTX ORTHOSIS
INFORMATION FOR THE
CONTRAINDICATIONS (SEE ALSO UTX SELECTION PROTOCOL):
•
Moderate to severe spasticity
May cause high loading on leg and orthosis. It may also disturb the dorsal flexion of the ankle at the end of the stance phase, or prevent proper
knee extension.
•
Knee flexion contracture > 10°
A flexion contracture in the knee > 10° results in excessive loading on the leg and orthosis. Knee extension is also required for unlocking the
swing at the end of the stance phase, which is more difficult with a flexion contracture.
•
Varus / valgus deformity > 10° which can not be redressed.
In case of knee instability > 10° which can not be rectified, there may be excessive loading on leg and orthosis.
•
Weight > 120 kg
•
Ischial weight bearing required
This is not possible with a UTX. Ischial tuberosity weight bearing is occasionally required in severe pelvic/torso instability or with required
unloading of skeletal elements in the leg.
•
Insufficient cognitive abilities
Limited cognition can make it difficult to (learn to) handle the orthosis.
ADJUSTING THE ANKLE HINGE
1. Remove the tape from the ankle hinge.
The UTX is standard delivered with a untightened ankle hinge, which must be adjusted
on location to the footwear of the client and secured in that alignment.
2. Loosen the locking screw from the ankle hinge.
3. Determine the right angle of the ankle stirrup. More dorsal flexion means unlocking later /
more plantar flexion means unlocking sooner.
4. Tighten the socket head screw
Use a good (non-rounded) Allen key. When the Allen key is slipping use the included spare
screw and find a better Allen key
5. Check the timing of unlocking, if necessary adjust the hinge (back to step 2).
The following steps are required when the ankle stirrup must be disassembled.
1. Unscrew the screw from the ankle hinge.
2. Remove the screw.
3. Insert a center punch into one of the clamp block pins of the ankle stirrup and slightly hit it
with a hammer, vary with other pen until the ankle stirrup is loose.
ADJUSTMENT OF THE PELOTTE CARRIER
1. Open the clip with your thumb and index finger until the cap is in line with the rest of the clip.
2. Grab the clip between thumb and index finger and twist the clip to disconnect.
3. Remove the IMS pelotte of the pelotte carrier (instruction page. 16)
4. Unscrew the two screws, using the appropriate Allen key.
5. Push a flat screwdriver into the opening of the pelotte carrier clamp.
6. Increase the gap in the pelotte carrier clamp by the screwdriver with half a turn.
7. Hit the pelotte carrier with a plastic hammer (right next to the flat oval) to move it up or
down.
8. Place the clamp plates in the in the vice and position the pelotte carrier clamp between it
9. Make sure that the pelotte carrier clamp is properly sealed on the flat oval by lightly turning
the vice.
10. Retighten the screws.
11. Put the pelotte back on the pelotte carrier (instruction page. 16)
Information for the professional | +31 (0)53 4302 836 | [email protected] | www.ambroise.nl
UTX.2018.01
PROFESSIONAL
Figure 6: Ankle hinge
Figure 7: Pelotte carrier
14
