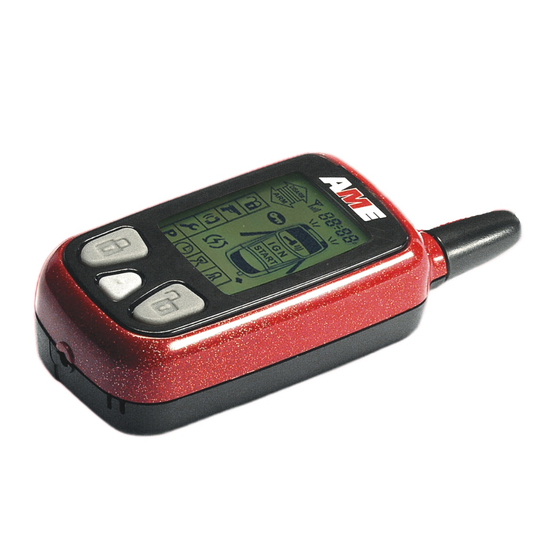
AME MM-2 User Manual - Page 13
Browse online or download pdf User Manual for Car Alarm AME MM-2. AME MM-2 20 pages.
Also for AME MM-2: Installation Manual (18 pages)

5. При необходимости изменить значение других функций, выберите функцию, нажимая кнопки 1 или 2
соответственно.
6. По окончании программирования выключите зажигание и подождите 15 секунд, система двойным зву
ковым сигналом подтвердит выход из режима.
Таблица пользовательских функций
Функция
1
Звуковые сигналы подтверждения выполнения команд
2
Запирание дверей при автопостановке на охрану
3
Запирание дверей при перепостановке на охрану
(только для стандартной перепостановки)
4
Запирание дверей при включении зажигания
5
Автоматическая перепостановка на охрану (стандартная)
6
Автопостановка на охрану
7
Быстрая перепостановка на охрану
8
Кнопка отключения быстрой перепостановки
Нажать одновременно кнопки 1 и 2 для входа в режим
установки. По окончании установки нажать кнопки 1 и 2
еще раз для подтверждения и выхода из режима.
9
Индикация срабатывания предупредительной зоны
датчика на пульте управления
10
Предупреждение о снятии с охраны
11
Передача сигналов на все пульты управления,
известные системе
12
Установка PIN кода
Нажать одновременно кнопки 1 и 2 для входа в режим
установки. По окончании установки нажать кнопки 1 и 2
еще раз для подтверждения и выхода из режима.
Светодиод показывает установленный PIN код
соответствующими сериями вспышек
13*
Стирание кодов всех брелков кроме используемого
14
Возврат пользовательских функций к заводским установкам
15
Переход к установочному программированию
* ВНИМАНИЕ! При стирании кодов пультов система также удаляет коды центрального блока из памяти
пультов управления (если они находятся в пределах зоны связи). Это занимает примерно 8 секунд. После
этого система заново прописывает код центрального блока в память пульта, используемого при стирании.
Заводская
Светодиод
Светодиод
установка
горит
не горит
ВКЛ.
ВКЛ.
ВЫКЛ.
ВЫКЛ.
ВКЛ.
ВЫКЛ.
ВКЛ.
ВКЛ.
ВЫКЛ.
ВКЛ.
ВКЛ.
ВЫКЛ.
ВКЛ.
ВКЛ.
ВЫКЛ.
ВЫКЛ.
ВКЛ.
ВЫКЛ.
ВЫКЛ.
ВКЛ.
ВЫКЛ.
Кнопка 1
Нажать кнопки в выбранной
последовательности:
1, 2, 1 1, 2 2, 1 2, 2 1
ВКЛ.
ВКЛ.
ВЫКЛ.
ВЫКЛ.
ВКЛ.
ВЫКЛ.
ВЫКЛ.
ВКЛ.
ВЫКЛ.
1
Нажать кнопку 1
Нажать кнопку 2
для увеличения
для уменьшения
значения PIN кода
значения PIN кода
Каждое нажатие
Каждое нажатие
подтверждается
подтверждается
звуковым
звуковым
сигналом
сигналом
Нажать кнопки 1&2 вместе
Нажать кнопки 1&2 вместе
Нажать кнопки 1&2 вместе
Руководство пользователя
AME MM 2 Автомобильная охранная система
Function programming.
1. Follow through with transmitter programming and turn the ignition back on (before the double siren beep in the
above item 3!).
2. Enter the number of the function that you want to adjust by pressing button one on the transmitter to increase
the number of function or by pressing button 2 to reduce the number of function.
3. Each time the transmitter button is pressed; the siren will beep to indicate the switch that is selected. The
following siren beep sequence will be used: Switch 1 = One short beep, Switch 2 = Two short beeps, ...
Switch 5 = One long beep, ... Switch 7 = One long beep and two short beeps, ... Switch 10 = Two long beeps,
... and so on.
4. Press both buttons 1 and 2 to toggle the status of the dual state functions from option 1 to option 2 and from
option 2 to option 1. If the Software switch includes more than two states, follow the instruction within a
respective line of the table below.
5. If option 1 is selected, the LED will be on. If option 2 is selected, the LED will be off.
6. Turn off the ignition and wait 15 seconds. The system will give a double beep to confirm it has exited software
switch adjustment.
User Software Switches
Software
Function
Switch
1
Arming/Disarming Beeps
2
Lock with Passive Arm
3
Auto Re locking
4
Auto Lock with Ignition
5
Auto Rearming
6
Passive Arming Alarm
7
Quick Auto Rearming
8
Quick Auto Rearming Disarm Button
Press buttons 1 and 2 to enter the setting and press buttons 1 and 2
to confirm the new setting and exit
9
Pre warm sensor zone trigger indication on the transceiver
10
2 way Handset Alarming on Disarm
11
All Transceiver Page Function
12
PIN Access
Pin Code between 1 and 9
Press buttons 1 and 2 to enter the setting and press buttons 1 and 2
to confirm the new setting and exit
13*
Erase all OTHER transmitter codes
(Save code of Remote being used)
14
Return all User Software Switches to Default
15
Move to Installer Switches
*NOTE: While erasing the transmitter codes with function 13 the main unit code is also being erased from the
transceivers' memory (if the transceivers are within the communication range). This procedure takes about 8
second. After the erasing is completed the main unit code will be re written down to memory of the transceiver,
which was used in erasing procedure, to reinstate the pager function. Two flashes of the indicator icon on the LCD
screen will confirm the main unit code is written down the transceiver memory.
If you do not want to wait the end of the procedure, exit the function (or programming) at any time and repeat
the Remote Code Learning as described above.
28
Default Setting
Option 1
Option 2
LED ON
LED OFF
ON
ON
OFF
OFF
ON
OFF
ON
ON
OFF
ON
ON
OFF
ON
ON
OFF
OFF
ON
OFF
OFF
ON
OFF
Button 1
Press buttons in one of the following
sequence: 1, 2, 1 then 2, 2 then 1,
button 1 twice or button 2 twice
ON
ON
OFF
OFF
ON
OFF
OFF
ON
OFF
1
Press to
Press to
increase the
decrease the
PIN code.
PIN code.
On Together
On Together
On Together
User's Guide
AME MM 2 Car Alarm System
13
