Coartal CLOSED EOS Veranda Assembly Instructions Manual - Page 10
Browse online or download pdf Assembly Instructions Manual for Accessories Coartal CLOSED EOS Veranda. Coartal CLOSED EOS Veranda 16 pages. Patio cover style

INSTALACIÓN EN CLIENTE:
INSTALLATION CHEX LE CLIENT:
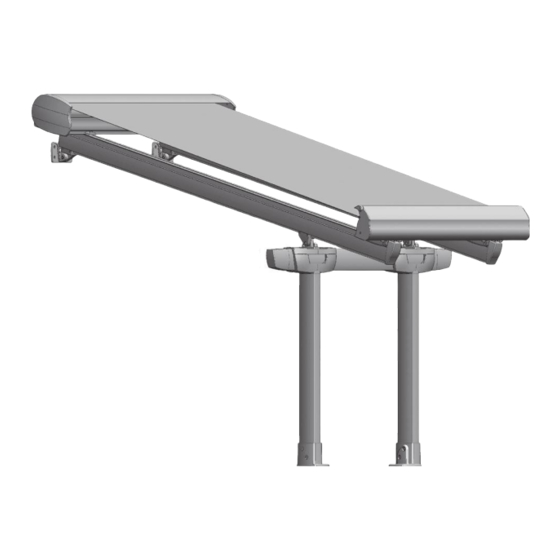
Paso 9: Poner los anclajes pared
EOS y los soportes suelo.
Los anclajes pared deben quedar
horizontales y los de suelo paralelos
a la pared.
Ver posición de los agujeros en
gura adjunta.
Step 9: Place the EOS wall supports
and the base supports.
The wall supports must have a
horizontal position and the base ones
should be parallel to the wall.
Check the position of the holes at the
attached drawing.
9: Placer les xations à mur EOS et
les supports sol.
Les xations à mur doivent rester
horizontales et celles qui vont xées
au sol, parallèles au mur.
Voir position des trous sur le dessin
ci-joint.
Fase 9: Mettere i supporti parete
EOS e i supporti a pavimento.
I supporti parete devono rimanere
orizzontali mentre i supporti a
pavimento paralleli alla parete.
Vedere posizione dei fori nella
gura allegata.
ASSEMBLY AT THE CUSTOMER'S PLACE:
INSTALLAZIONE DAL CLIENTE:
www.coartal.com
