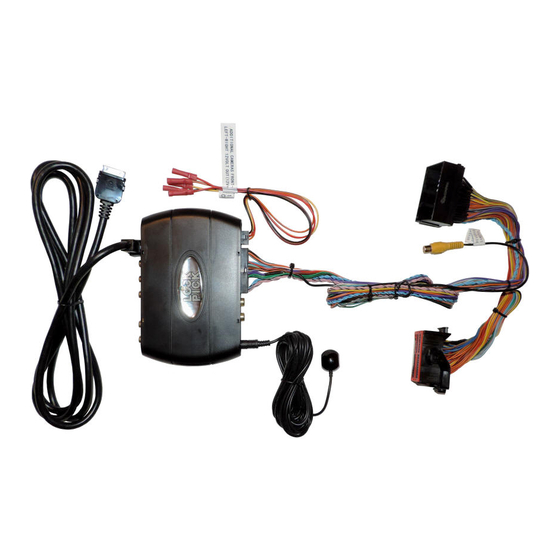
Coastal MYGIG LOCKPICK PRO Installation And Operation Instructions Manual - Page 7
Browse online or download pdf Installation And Operation Instructions Manual for Automobile Accessories Coastal MYGIG LOCKPICK PRO. Coastal MYGIG LOCKPICK PRO 15 pages. Adapter for chrysler/dodge/jeep

9.
If you want to add a front camera or side cameras to your vehicle, the Lockpick is prewired and
programmed for exciting
CAM POWER 12V+ that is specially designed to automatically provide the power needs of your front
and side cameras. Connect the power needs of your additional cameras to the camera power output and
attach the GROUND connection of your camera to the GROUND connection provided for you on the
Lockpick harness. Connect the video from your cameras to the RCA video inputs labeled on your
Lockpick module and harness. Consult the diagrams provided for standard or PRO multicam
installations.
10.
Also present on your Lockpick harness is a 12V ACC output connection.
the Lockpick and can be used as a convenient 12V switched power source for many of your accessories.
It is rated for a constant 1.5 AMPs and will automatically turn on and off at the proper times of your
vehicle use. If your power needs are greater than 1.5 Amps, you may use the CONSTANT 12V output
conveniently provided by the Lockpick harness and switch it on and off through a relay powered by the
ACC power output of the Lockpick harness.
**NOTE:
Optional connections for 12V Constant Battery power (YELLOW), ACC Ignition power (RED),
GROUND (BLACK), REVERSE CAM (ORANGE W/STRIPE), ADDITIONAL CAM POWER (RED
W/STRIPE), Front/Left, Right cam, are provided as a BONUS in your wiring harness for you to use when
connecting additional accessories such as a DVD player, Game, Cameras, Radar detector, etc., without worry
that they might drain your battery when the car is turned off. The ACC wire can power up to 1.5 Amps constant.
Higher loads should be connected with a relay.
** Do not attach the Constant or ACC wires directly to the vehicle wiring or ignition switch. The
Lockpick is plug and play for standard DVD/AUX/NAV/VIDEO/AUDIO/CAM unblocking and does
not require connections for power or ground. Connecting these Lockpick outputs to the vehicle wiring
can damage the unit and cause improper operations.
**
When the MYGIG LOCPICK PRO ADAPTER is turned on for the first time, allow 30
seconds before operating the various functions and features. This allows the Lockpick to prepare
the radio and screen views for standard operations. During the first startup, the Lockpick will
create the SAT TV mode and all touch screen options to begin your interface for use. The Lockpick
will automatically update the TV channels, requiring only a couple of seconds, each time the TV
mode is selected. During the time that "Updating Channels" or "Initializing" is displayed on the TV
mode screen, the touch screen options are not available for selection.
The Lockpick PRO Option switch 5 can be placed DOWN to allow the user to install a rear
camera along with front and side mounted turn signal activated cameras – all at the same time.
This key feature of the PRO line allows full 360° camera placement while the Lockpick controls
automatic activation or manual viewing of each camera.
input locations on the Lockpick module and cable for proper operations in this special mode.
options. The Lockpick harness has a 12V power output labeled ADDITIONAL
LOCKPICK PRO MULTI-CAMERA OPTIONS
This ACC output is created by
LOCKPICK PRO
Option Switch 5 DOWN
1. Select Camera to manually view camera video
from each location.
2. Enable automatic activation for Rear, Front,
and Turn cams from menu pages 2, 3.
3. Press Uconnect button 2x to turn off or toggle
back on camera viewing.
The diagram on the last page details the
