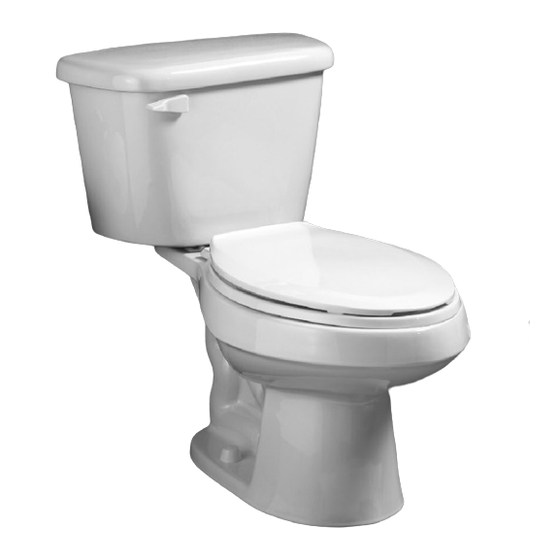
American Standard ChinaLux 1000 RF Installation Instructions
Browse online or download pdf Installation Instructions for Indoor Furnishing American Standard ChinaLux 1000 RF. American Standard ChinaLux 1000 RF 2 pages. Two-piece toilet

To ensure this product is installed properly, please read these instructions carefully before you begin.
Certain installations may require professional help.) Also be sure your installation conforms to local codes.
CAUTION: PRODUCT IS FRAGILE. TO AVOID BREAKAGE AND POSSIBLE INJURY HANDLE WITH CARE!
!
NOTE: Pictures may not exactly define contour of china and components.
RECOMMENDED TOOLS AND MATERIALS
Putty Knife
Regular Screwdriver
Closet Bolts
Hacksaw
1
REMOVE OLD TOILET
a. Close toilet supply valve and flush tank completely. Towel or sponge remaining water from tank and bowl.
b. Disconnect and remove supply line. NOTE: If replacing valve, first shut off main water supply!
c. Remove old mounting hardware, remove toilet and plug floor waste opening to prevent escaping sewer gases.
d. Remove closet bolts from flange and clean away old wax, putty, etc. from base area.
NOTE: Mounting surface must be clean and level before new toilet is installed!
2
ROUGHING-IN DIMENSIONS:
NOTE: Distance from wall to closet flange centerline
must be as listed below:
For 120012 Tanks: Rough-in distance is 305mm (12")
4
INSTALL WAX SEAL
Invert toilet on floor (cushion to prevent damage),
and install wax ring evenly around waste flange
(horn), with tapered end of ring facing toilet. Apply
a thin bead of sealant around base flange.
6
INSTALL TOILET
a. Position toilet squarely to wall and, with a rocking
motion, press bowl down fully on wax ring and flange.
Alternately tighten nuts until toilet is firmly seated
on floor.
!
CAUTION:
DO NOT OVERTIGHTEN NUTS
OR BASE MAY BE DAMAGED!
b. Install caps on washers. (If necessary, cut bolt height
to size before installing caps.)
c. Smooth off the bead of sealant around base.
Remove excess sealant.
8
INSTALL TOILET SEAT
9
CONNECT WATER SUPPLY
a. Connect water supply line
between shutoff valve and
tank water inlet fitting. Tighten
COUPLING NUT 1/4 turn
beyond hand tight. Check
that refill tube is inserted into
overflow tube.
b. Turn on supply valve and
allow tank to fill until float
rises to shutoff position.
c. Check for leakage at fittings,
tighten or correct as needed.
d. Do not use plumber's putty to
seal these fittings.
ChinaLux 1000 EL
ChinaLux 1000 RF
Adjustable Wrench
Sealant
Install toilet seat in accordance with manufacturer's directions.
TANK
WATER INLET
WASHER
FLEXIBLE
COUPLING NUT
SUPPLY
VALVE NUT
COMPRESSION
COLLAR
TRIM PLATE
VALVE
CAUTION:
Overtightening of
COUPLING NUT could
result in breakage and
potential flooding.
INSTALLATION INSTRUCTIONS
CARE AND MAINTENANCE
Wax Ring/Gasket
Carpenters Level
3
INSTALL CLOSET BOLTS
Install closet bolts in flange channel, turn 90°, and slide into
place 6" (152 mm) apart and parallel to wall.
5
POSITION TOILET ON FLANGE
a. Unplug floor waste opening and install toilet on
closet flange so bolts project through
mounting holes.
b. Loosely install retainer washers and nuts. Side of
washers marked "THIS SIDE UP" must face up!
7
INSTALL TANK
a. Install large rubber gasket over threaded
outlet on bottom of tank and lower tank
onto bowl so that tapered end of gasket
fits evenly into bowl water inlet opening.
b. Insert tank mounting bolts and rubber
washers from inside tank, through
mounting holes and gasket, and secure
with metal washers and nuts.
c. With tank parallel to wall, alternately
tighten nuts until tank is
snugged down evenly
against bowl surface.
10
ADJUSTMENTS
a. Flush tank and check that
tank fills and shuts off within
30 to 60 seconds, and tank
water level is set as
specified on tank rear wall.
b. To adjust water level:
turn water level adjustment
screw counterclockwise to
raise level; turn adjustment
screw clockwise to lower level.
c. To adjust flow rate (tank fill time):
turn flow rate adjustment screw
clockwise to decrease flow rate (increase fill time); turn adjustment screw
counterclockwise to increase flow rate (decrease fill time).
d. Carefully position tank cover on tank.
e. The flush valve float has been factory set and does not require adjustments.
Repositioning of the float will change the amount of water used which may
effect the toilet's performance.
f. If bowl fails to siphon, an adjustment may be required with the lift chain. Simply
remove the chain from the retainment clip (see Fig. 10) and take up slack on
the chain, and reinsert on lift rod. Make sure the chain is not too taught.
Flexible Supply Tube
Tape Measure
Seat
NUT
CLOSET
BOLT
TANK MTG.
BOLTS
WASHER
NUT
!
CAUTION:
DO NOT OVERTIGHTEN NUTS MORE
THAN REQUIRED FOR A SNUG FIT!
FLOW RATE
ADJUSTMENT
TO RAISE
WATER
LEVEL
OVERFLOW
TUBE
+
TO LOWER
-
REFILL
WATER
TUBE
LEVEL
TRIP
C L
LEVER
WATER
CONTROL
ASSEMBLY
WATER
LINE
LEVEL
WATER
INLET
FLUSH
VALVE
7301311-100 Rev.A
BOLT
CAP
TAPERED
WASHER
RUBBER
WASHER
RUBBER
GASKET
LIFT
ROD
FIG. 10A
FLOAT
BALL
FLAPPER
ASSEMBLY
