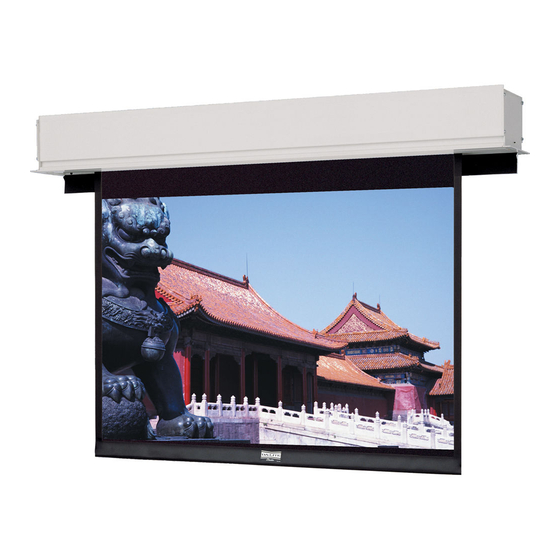
Da-Lite ADV DLX 120D Instruction Book - Page 3
Browse online or download pdf Instruction Book for Projection Screen Da-Lite ADV DLX 120D. Da-Lite ADV DLX 120D 9 pages.

SCREEN AND ROLLER ASSEMBLY INSTALLATION
If your screen was shipped with the motor and roller already installed proceed to step 6.
1. Remove the screw from each end of the access door (front door) and open the door. See figure 1.
2. Carefully unpack screen and roller assembly. Leave packing paper on the roller.
3. Place the roller assembly into the case with the motor on the left side. The limit switches should be facing down.
Line up the square pin on the motor with the square hole in the bracket.
4. Lift the pin end (right end) of the roller into position and slide the bracket onto the roller pin. Tighten two nuts to
secure the bracket.
5. Complete electrical hook-up by snapping motor wire connector into case connector.
▲
!
CAUTION! DO NOT CUT TAPE ON FABRIC WITH A KNIFE OR ANY SHARP TOOL. REMOVE BY HAND.
6. Carefully remove tape strips securing picture surface around roller. Slat should move freely (Fig. 2). (Only if the
roller assembly is preinstalled.)
7. Test installation by operating the screen several times. Be prepared to stop the screen. Standard Duty Cycle: 1
MIN. ON/3 MIN. OFF. The fabric door (rear door) will not close until the wall switch is placed in the up position and
when the screen motor stops at its limit switch in the up direction.
NOTE: Excessive continuous operation may cause the motor to overheat. If this happens the motor will shut off until it cools to
a normal operating temperature.
8. Run the screen down enough to open the fabric door. Close the access door and reinstall the screws to secure the
door.
SCREEN MOTOR
LIMIT SWITCH
ADJUSTMENT
KNOBS
DOOR
MICROSWITCH
DOOR MOTOR
SCREEN ADJUSTMENT
The screen controller (standard control, not SCB100 or SCB200) is factory calibrated to control the screen and door
sequence timing. If the line voltage varies 10% or more from the factory setting, the door will not close properly and the
unit will need to be recalibrated. The steps are:
1. The screen surface must be all the way up
2. Press and hold the stop button for 15 seconds
The screen will then run through a whole cycle and be recalibrated upon completion.
If the screen limit switch setting is changed in the up direction, the unit must be recalibrated. Surface travel is stopped
automatically in the fully opened and closed positions by limit switches that are properly adjusted at Da-Lite. Should it be
necessary to adjust for more or less drop of picture, proceed in the following manner:
NOTE: Use a screw driver or 5/32" Allen wrench to make adjustments.
ACCESS DOOR
FABRIC
DOOR
FIGURE 2
CONDUIT INSTALLATION
2
SCB-100/SCB-200
ACCESS COVER
KNOCKOUTS FOR
FIGURE 3
