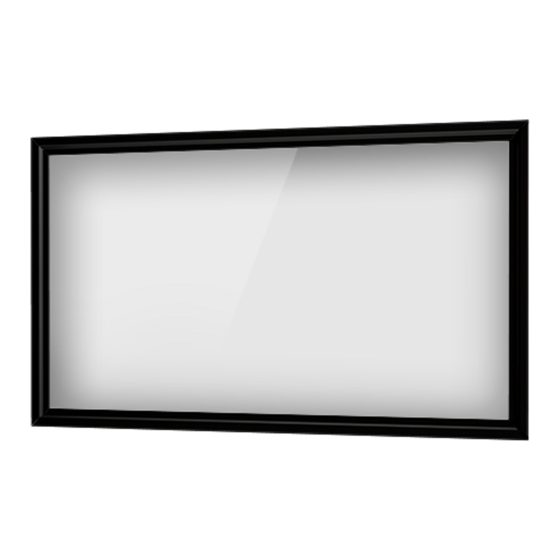
Da-Lite Polacoat Da-Plex Semi-Rigid Instruction Book - Page 2
Browse online or download pdf Instruction Book for Projection Screen Da-Lite Polacoat Da-Plex Semi-Rigid. Da-Lite Polacoat Da-Plex Semi-Rigid 12 pages.

Preparation
It requires at least four people to assemble a Da-Plex Semi-Rigid. To maintain optimal image geometry and screen alignment, a flat and
straight wall free from obstructions and angular distortions should be used. A wall opening with 5" + the ordered viewing height and
5" + the ordered viewing width must be used to maintain the precise in-wall fit of the Da-Plex Semi-Rigid. When assembling the
screen, choose a clean work area using padded material or other soft, clean materials. The work area larger than the overall screen size
and directly in front of or behind the wall opening where the screen is to be installed.
NOTE: Please read through the installation steps and note wait times. The rolled screen surface needs to be acclimated to the room for
48 hours prior to installation (Step 1). Once the surface is unrolled it will need to lay in its unrolled state for 4 hours (Step 2).
Screen Orientation
Polacoat® In-Wall rigid rear projection screens have a polished surface and a matte, coated surface. The polished surface should always
be installed so that it faces the projector and the matte surface must face the audience. If screen has anti-glare coating, the anti-glare
surface should always face the projector.
Tools Required for Installation (not provided)
Screw Gun/Drill
1/2" Open Wrenches
(2) Ladders
Rubber Mallet
Measuring Tape
Level
¼" x 1" Hex Lag Screws
#10 x 1" Flat Head Screws
1/8" & 3/16" Hex Keys
2
