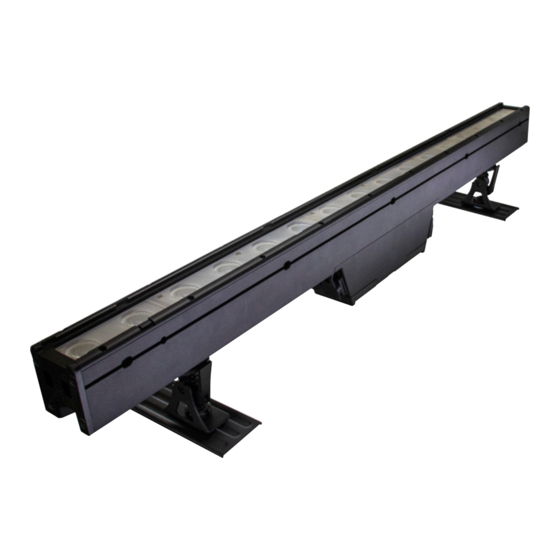
Astera PixelBar AX2-100 User Manual - Page 4
Browse online or download pdf User Manual for Lighting Equipment Astera PixelBar AX2-100. Astera PixelBar AX2-100 4 pages.

7. Hanging
The Airline tracks at back and bottom of the AX2-50/-100 housing are used to attach optionally
available mounting fittings.
The AX2-50/-100 can be mounted using TrackPins (AX-TP) and Superclamps/GripHeads or hung up
using the TrackHangers (AX-TH) or FlyBar (AX2-FB) for vertical position. When hanging, secure with
a safety wire. This should be attached to the safety hooks at the back of the AX2-50/-100 housing.
Make sure the light cannot drop more that 20cm if primary mounting fails.
BarConnect+ (Integrated fasteners and counterparts) at both ends of the housing click into place
and make a form-fitting locked connection when arranging multiple units in a line.
When hanging vertical, it is permitted to join a maximum amount of 4 units of AX2-50 or 4 units of
AX2-100 together in a line (Notice: fasten at least at every 2nd connection point)
Hang with TrackHanger
Permitted way hanging/saving several AX2
Mount with TrackPin
Permitted way hanging/saving several AX2
6
Hang with FlyBar
8. Connecting several AX2 with BarConnect+
Quickly merge several PixelBars while maintaining the pixel pitch. Aim connected units together to
maintain consistent lighting or hang them. The integrated IR modules enable auto-addressing for
AsteraApp and DMX control.
1.
2.
TROUBLESHOOTING
Problem
Possible cause
The fixture does not turn on
The battery may be empty
The fixture turns on and the
The fixture could be set to
display is on, but the LEDs do
BLACKOUT mode
not emit light
*Click*
The fixture is not working
The fixture may still be opera-
correctly - it does not display
ting under a previous setting
the color or effect chosen
The power cable is con-
The battery may be fully
nected but the fixture is not
charged
charging
SPECIFICATIONS - TECHNICAL DATA
AX2-50 / -100
Item Code
RGBMintAmber
Colors
80W / 160W
Total LED Power
Power Draw
40W / 80W
1800lm, 2230lm, 2265lm
Light output - 2700k, 3200k,5500k (50)*
3600lm, 4460lm, 4530lm
Light output - 2700k, 3200k,5500k (100)*
CRI(RA)/TLCI 3200-6500k*
≥96
Beam Angle
21°
Strobe
0 - 25Hz
8 / 16
Pixels
70 % after 300 cycles
Battery Lifetime
Battery Runtime
up to 20 hours
5 hrs
Charging Time (nominal)
3.
*Click*
*Click*
Solution
Connect it to the AC and try again
Set to display black color or is operating in DMX
mode and doesn't receive a valid signal. It is good
practice to do a RESET SETTINGS
It is good practice to do a RESET SETTINGS bet-
ween setups
The fixture will only commence charging when its
battery has a temperature of 45° C or less. Turn the
fixture off and let it cool down; once cold enough, it
will start charging
110 - 240V, 50/60 Hz
Input Voltage
Input Current
0.7A/115VAC ~ 1.0A/230VAC
300 m / 330 yds
Range
Wired DMX
Yes
Built in
CRMX Receiver
CRMX 2.4GHz, UHF
Wireless Frequencies
Housing
Aluminium
IP65
IP Rating
Operating Temperature
0° - 40° C / 32° - 104° F
4.5kg/9.9lbs / 7.9 kg/17.5 lbs
Weight
520 x 165 x 65 / 20.5 x 6,5 x 2,6
Dimensions with hook (mm/inches)
1020 x 165 x 65 / 40.1 x 6,5 x 2,6
500 x 165 x 65 / 19.7 x 6.5 x 2.6
Dimensions without hook (mm/inches)
1000 x 165 x 65 / 39.4 x 6.5 x 2.6
7
