DoorHan SLIDING-1300 Installation And Operating Manual - Page 5
Browse online or download pdf Installation And Operating Manual for Gate Opener DoorHan SLIDING-1300. DoorHan SLIDING-1300 16 pages. Drive
Also for DoorHan SLIDING-1300: Installation And Operating Manual (12 pages), Installation And Operation Manual (12 pages)
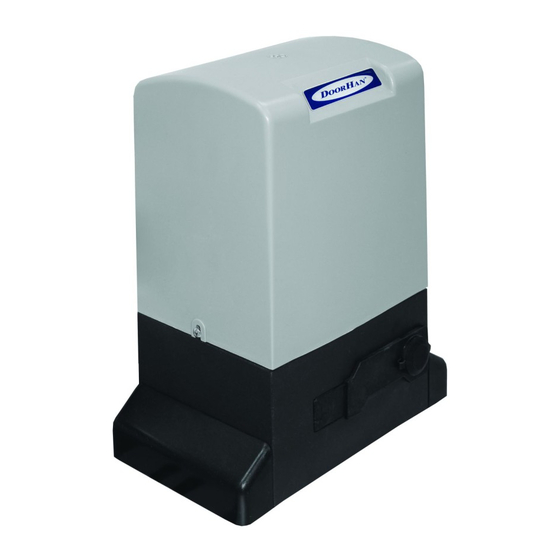
3. oPeRAtoR UnIt
1. Reducer housing
2. Housing cover
3. Control unit
4. Stator
5. Condenser
6. Terminal block
7. Gear wheel
8. Operator fastening devices
9. Cover of the fastening devices
10. Release
11. Limit switches
4.
InstALLAtIon
4.1. tools
1. Set of spanners
2. Set of cross and straight-blade screwdrivers
3. Set of drill bits for metal
4. Set of drill bits for concrete
4.2. operator installation
Following the instructions below is critical to safe and satisfactory operation of the operator.
•
Be sure that construction of the door allows its automation.
•
Be sure that the ground is solid and stable enough to install the mounting base of the operator.
•
There shall be no pipes or electrical cables in the pit area.
•
If the motor does not have protection from passing-by vehicles, install the suitable guard to prevent from
accidental impacts.
•
Be sure that effective earth connection is possible.
1. p lace the operator on the base and moving it set the necessary space between the operator's gear wheel and the door. Fix
the operator.
2. Release the operator.
3. Run the protective tubes or corrugated tubes through the holes in the base.
4. Secure the racks to the door strictly horizontally (see p. 4.3 or 4.4).
5. S et the required gap (~2 mm) between the racks and the gear wheel of the operator. The gear wheel and the racks shall be
toothed along the whole width.
6. M ove the door and make sure that the rack does not press the gear wheel and does not dislocate. Fix other sections
of the racks.
7. Open the door and install the opening limit switch (see p. 4.5).
8. Close the door and install the closing limit switch (see p. 4.5).
9. Couple the operator.
10. Adjust the control unit (see pp. 5.2 and 5.3).
11. Run up the operator to make sure that the operator functions normally.
12. If necessary, adjust the limit switches.
2
6
11
7
5
9
1
8
5. pliers
6.Hacksaw for metal
7. Electric drill
8. Tape measure (folding rule)
OperatOr UnIt
3
4
9
10
8
5