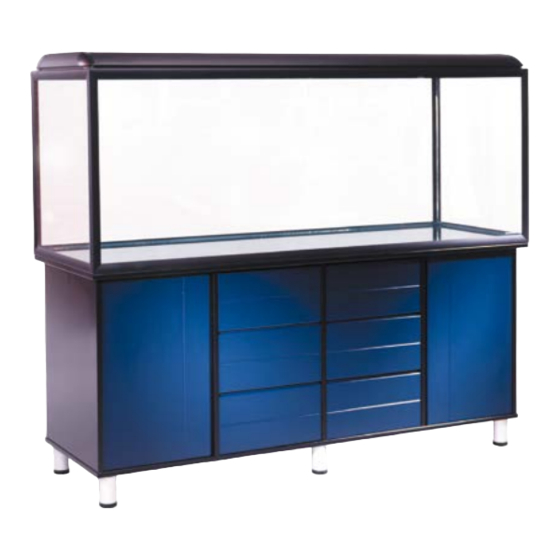
AkvaStabil Effect Light AL7128 Instruction - Page 6
Browse online or download pdf Instruction for Aquariums AkvaStabil Effect Light AL7128. AkvaStabil Effect Light AL7128 12 pages.

Lysstofrør • Fluorescent tubes • Die Leuchtstoffröhren
Lysstofrør skal monteres før armaturet tages
i brug, det er dog nemt.
Se side 10 angående den korrekte størrelse lys stofrør.
Fluorescent tubes must be installed be fore
1) Læg armaturet på et ikke-ridsende underlag
med parabolerne opad.
1) Place the EffectLight unit on a non-abrasive
surface with the parabolas up.
1) Legen Sie die Beleuchtungsvorrichtung mit den
Reflektoren nach oben auf eine nicht krat zende
Unterlage.
1
2) Skru fatningsomløberne af med fingrene ved at
dreje mod uret.
2) Unscrew the sleeve locking rings with your fin-
gers (counter-clockwise).
2) Schrauben Sie die Schutzringe gegen den
Uhrzeigersinn heraus.
2
putting the EffectLight unit to use.
It is easy.
Please refer to page 10 for tube specifications.
3) Skyd fatningsomløberne ind over lysstofrøret med
de koniske ender mod hinanden.
3) Slide the sleeve rings onto the light tube, coni-
cal ends facing each other.
3) Schieben Sie die Schutzringe mit den
konis chen Enden gegeneinander über die
Leuchtstoffröhre.
3
4) Skub lysstofrørets »ben« ind i de 2 sprækker,
som findes i hver fatning, indtil røret sætter sig i
midten af fatningen med et klik.
OBS! Lysstofrøret må IKKE drejes.
4) Insert the »legs« of the light tube into the slots
in the sockets till a »click« indicates they are cen-
tred. NOTE: Do NOT twist the tube!
4) Schieben Sie die „Beine" der Leucht stoff-
röhre in die zwei Schlitze, die sich in jeder
Fassung befinden, bis die Röhre sich in der
Mitte der Fassung befindet. ACHTUNG ! Die
Leuchtstoffröhre darf NICHT gedreht werden.
6
Die Leuchtstoffröhren sind vor der In be trieb-
nahme der Beleuchtungsvor richtung anzubrin-
gen. Dies ist ganz einfach.
Die richtige Größe der Leuchtstoffröhren wird auf
Seite 10 angegeben.
4
5) Skru fatningsomløberne på igen. Før led ningen
ud gennem sideudskæringen i armaturets bag-
.
klap
5) Fasten the sleeve rings. Lead the wire
through the rear flap slot.
5) Schrauben Sie die Schutzringe wieder
an. Führen Sie die Leitung durch einen
der Seitenschlitze in der Hinterklappe der
Beleuchtungsvorrichtung.
5
