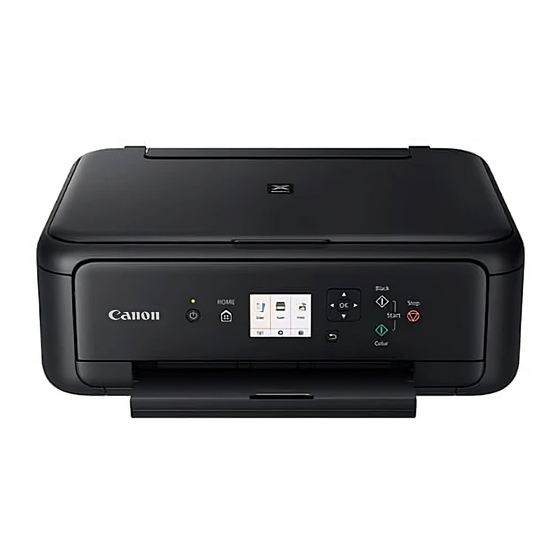
Canon TS5100 series Getting Started - Page 9
Browse online or download pdf Getting Started for All in One Printer Canon TS5100 series. Canon TS5100 series 45 pages.
Also for Canon TS5100 series: Getting Started (21 pages), Getting Started (21 pages), Getting Started (28 pages), Getting Started (47 pages)

Procedures below vary depending on iOS or Android. Select your operating system and proceed to its
procedure.
a Tap Settings on your smartphone's home screen,
and tap Canon_ij_XXXX in the Wi-Fi settings.
If Canon_ij_XXXX does not appear on the list,
see "Preparation for Printer" below to operate the
printer, and then repeat step a.
b Tap the installed application software.
c Follow the on-screen instructions to register the
printer.
Follow the on-screen instructions to proceed
with the setup.
If you select Auto Select Conn. Method
(recommended) on the connection method
selecting screen, the appropriate connection
method is selected automatically depending on
your environment.
d Make sure that the right
screen appears.
The connection with your smartphone is now complete. You can print from your
smartphone.
To print photos, load photo paper. Proceed to "Loading Photo Paper" on page 8.
Preparation for Printer
a Press the HOME button on the printer.
b Use the {, }, [, or ] button to select the icon
on the lower left of the Home screen, and then
press the OK button.
a Tap the installed application software.
b Follow the on-screen instructions to register the
printer.
If a message saying "Printer is not registered.
Perform printer setup?" does not appear, see
"Preparation for Printer" below to operate the
printer, and then wait for a while until the message
appears.
Follow the on-screen instructions to proceed
with the setup.
• The appropriate connection method is selected
depending on your environment.
• If two printer names appear on the Register
Printer screen as shown below, select A.
A( TS5100 series )xxx.xxx.xxx.xxx(
B( Direct-xxxx-TS5100series
c Make sure that the right
screen appears.
c If the following screen appears, select No with the
[ or ] button, and then press the OK button.
d Use the {, }, [, or ] button to select LAN
settings > Wireless LAN > Wireless LAN setup
> Easy wireless connect in order, and then press
the OK button.
e Use the [ or ] button to select Yes, and then
press the OK button.
f Return to the operation of your smartphone.
7
