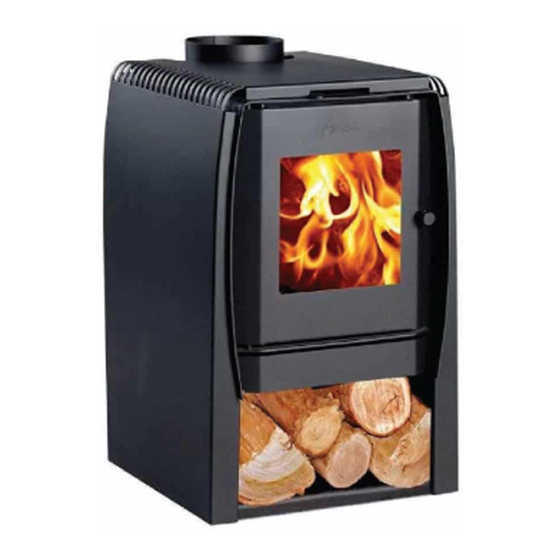
Amesti Nordic 360 Owner's Manual - Page 2
Browse online or download pdf Owner's Manual for Wood stove Amesti Nordic 360. Amesti Nordic 360 7 pages.

BEFORE INSTALLATION OF YOUR APPLIANCE
Firstly check all local building and heating regulations. Different states and different localities have varying regulations
about the installation and operation of wood stoves and you or your installer should be aware of these.
POSITIONING THE AMESTI
We enclose a sheet showing approved distances from the heater to combustible side and back walls. This also gives
details of the floor protector size. These clearance distances can only be reduced if the surrounding walls or floor are
made of noncombustible material (stone, brick or concrete).
CONSTRUCTING THE FLUE
A free standing appliance should have a flue kit made of stainless steel or requirement of AS/NZS2918/2001. The length
will depend on ceiling height and roof design but the top of the flue pipe must penetrate the roof line by a minimum of
1m or to be in excess of 3m from the roof in a horizontal line, or a minimum of 600mm higher than the ridge if within 3m
of the ridge.
If the draft is insufficient or periodic down drafting occurs and the appliance smokes or only burns slowly, extending the
flue or fitting a specialized cowl will usually cure it.
In the roof cavity and above the roof it is essential that the flue has two outer casings as it is important to prevent
condensation on the upper cooler parts of the flue as well as being a safety feature. Where the flue penetrates the
ceiling and roof, it must comply with AS/NZS2918/2001. If the stove is fitted into and existing chimney ensure that it is
sealed at the base of the chimney with a register plate and install the flue lengths up the chimney to atmosphere and fit
the appropriate termination chimney plate and cowl.
The flue kit must be installed according to the manufacturer's instruction.
