Astro Pneumatic 1442 Manual - Page 2
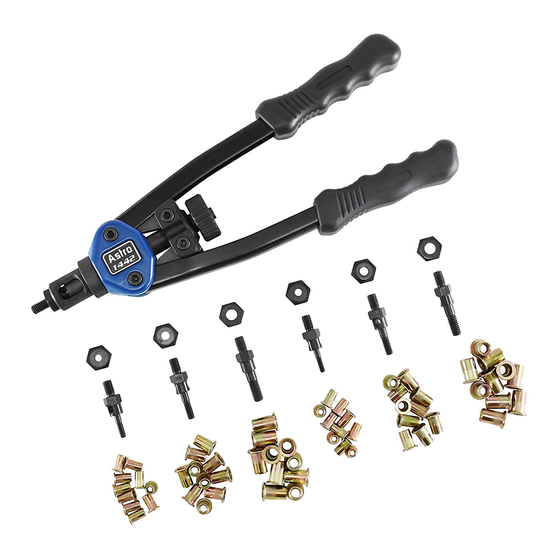
Browse online or download pdf Manual for Tools Astro Pneumatic 1442. Astro Pneumatic 1442 4 pages. 13 inch nut/thread setting hand riveter kit with 3pc metric and 3pc sae mandrel/nosepiece sets and rivet nut assortment

MODEL:
WARNING
Always wear ANSI approved safety goggles when using this
product (Users and Bystanders). Failure to read and follow all
warnings and operating instructions may result in damages and
serious injuries or death.
OPERATING INSTRUCTIONS:
1. Choose the rivet nut size to be installed.
2. Install the correct size mandrel/nosepiece for the rivet nut to
be installed. See photos and instructions for changing the
mandrel/nosepiece and adjustment.
3. Drill a hole in the work product the same size or slightly larger
than the outside diameter of the rivet nut to be installed.
4. To install the rivet nut, open the handles outward as far as
possible and thread the rivet nut clockwise onto the mandrel
until reaching the nosepiece.
5. Insert the rivet nut fastened to the riveter into the pre-drilled
hole until flush with the work product, and pull handles inward
to secure the rivet nut into the hole. If the rivet nut is loose in
the hole, open the handles outward, turn #19 knob clockwise,
and pull handles inward until the rivet nut is secure in the
hole. Repeat as necessary until the rivet nut is secure in the
hole. See adjustment instructions if necessary.
6. Turn the #19 knob counterclockwise until the mandrel is
removed from the rivet nut. The rivet nut installation is
complete if the rivet nut is secure from movement in the hole.
CHANGING MANDREL/
NOSEPIECE INSTRUCTIONS:
1. Remove and install the mandrel and nosepieces. Always
keep the matched mandrel/nosepiece sets together.
2. Remove nosepiece from #3 sleeve by unthreading the nose
piece counterclockwise. This can be done either by hand or
with the provided wrench if too tight to do so.
1442
Assembly direction
PRODUCT TYPE:
13" NUT/THREAD SETTING HAND RIVETER KIT
WITH 3PC METRIC AND 3PC SAE MANDREL/NOSEPIECE SETS
AND RIVET NUT ASSORTMENT
3. Using your thumbnail or tool, press down to depress the #6
inner hexagonal sleeve that sits within the #3 outer sleeve.
This should expose the lower hex portion of the mandrel.
4. Unthread the mandrel by hand to remove it from the sleeve.
Once the mandrel has been threaded out far enough to clear
the #6 hex sleeve you may release tension on this sleeve
collar.
5. Choose the correct mandrel/nosepiece to be installed.
6. Thread the new mandrel into the tool by hand until it
approaches the #6 hex sleeve and fully depress this sleeve
to allow the mandrel to be threaded further until it stops.
The mandrel does not need to be torqued. Release the
hex sleeve and allow it to fully reengage the mandrel. If the
mandrel and hex sleeve do not initially align, rotate the #19
knob while holding onto the mandrel until it clicks up and
reengages.
7. Thread the matching nose piece into the #3 by hand.
Torqueing the nose piece is optional.
Page 2
