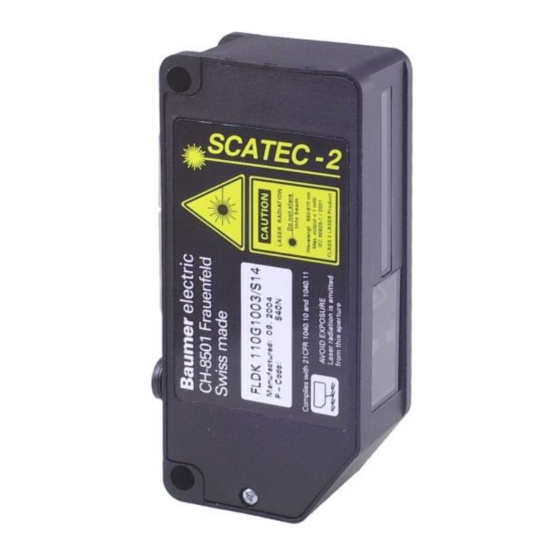
Baumer SCATEC-2 FLDK 110 Series User Manual - Page 7
Browse online or download pdf User Manual for Accessories Baumer SCATEC-2 FLDK 110 Series. Baumer SCATEC-2 FLDK 110 Series 18 pages. Laser copy counter
Also for Baumer SCATEC-2 FLDK 110 Series: User Manual (35 pages)
7.3
Beam blocker
Uncontrolled reflections of the laser beam can cause malfunctioning of the sensor or disturb people.
Therefore, a beam blocker should be fitted whenever possible to block the beam when there is no target
present. A flat surface (at least approx. 25x25 mm) made of a matte, non-reflecting material is
recommended as the beam blocker. The beam blocker must be mounted parallel to the sensor. The
yellow edge indicator LED must not light when the laser beam strikes the beam blocker.
7.4
Cleaning the front window
Fingerprints, dust and other forms of dirt on the front window can impair the function of the sensor.
There is a high risk of accidentially leaving fingerprints on the windows when mounting the sensor.
Make sure that after the mounting the front windows are cleaned! It is normally sufficient to wipe the
glass pane dry with a clean (!), soft cloth. Alcohol may be used for heavier soiling.
7.5
Checklist for correct mounting
When the SCATEC-2 is mounted correctly:
•
the green power LED lights as long as the electrical supply is connected
•
the product overlap faces in the same direction as indicated on the sensor label
•
the laser beam is focused on the conveying plane into a line about 2 (3) mm long
•
the laser line focus must be aligned in parallel to the edges to be detected
•
the yellow edge indicator LED does not light when the laser beam strikes the beam blocker
•
the yellow edge indicator LED lights as long as an edge is located in the beam
•
the front windows are clean
Manual SCATEC-2
Version 2011-05
8
Adjustments
With the SCATEC-2, the following parameters and operating modes can be adjusted:
•
Output pulse length
•
False pulse suppression
•
Sensitivity
The parameters can be adjusted in two ways: via the interface or using DIP switches.
Parameter setting through the interface allows continuous choice of the parameters, whereas a
selection is made from a defined set when the parameters are set with the DIP switches. Parameter
setting through the interface using a computer is described in the user manual for the software package
ScaDiag.
Note:
The sensor is only in DIP switch mode when the power LED lights green.
•
If the power LED lights yellow instead of green, the parameters of the sensor have been set
through the interface. In this case, the DIP switches are inactive on the sensor and their settings
are irrelevant. The sensor can be reset to DIP switch mode, in which the parameters are defined
by the DIP switches, in two ways.
a)
Through the interface (see user manual for the software package ScaDiag).
b)
By setting the DIP switches in the following sequence:
1.
Set all switches to OFF (at least one must have been ON previously)
2.
Set all switches to ON within 16 seconds
3.
Set all switches back to OFF within 16 seconds
4.
The power LED should then light green after a brief delay. The parameters of the
sensor can then be adjusted with the DIP switches
•
To prevent the loss of the DIP switch cover screw, do not fully remove it from the cover. The screw
is retained by the cover.
Manual SCATEC-2
Version 2011-05
13
www.baumer.com
14
www.baumer.com
Baumer Electric AG
Frauenfeld, Switzerland
Baumer Electric AG
Frauenfeld, Switzerland