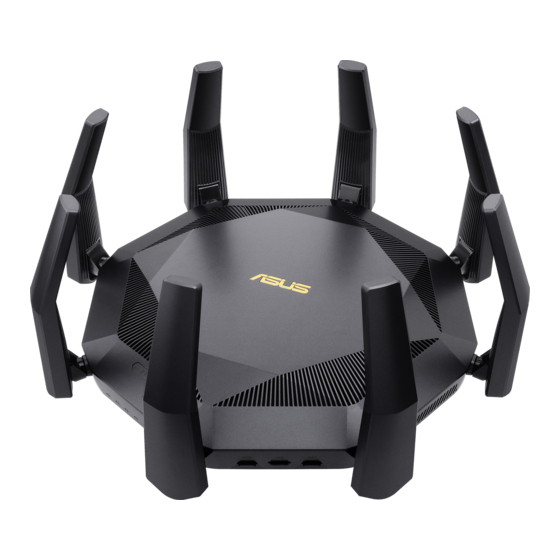
Asus RT-AX89X Mount Instructions
Browse online or download pdf Mount Instructions for Network Router Asus RT-AX89X. Asus RT-AX89X 2 pages.

ASUS ROUTER WALL CEILING MOUNT INSTRUCTION:
This Mount will fit for these ASUS Routers:
•
ASUS RT-AX89X (AX6000)
The shipping package include:
•
1x ASUS Router Mount Plate
•
1x ASUS Router Mount Plate Screw Template
•
2x Screw 4x35mm
•
6x Screw 3x12mm
You need:
•
Screwdriver T10 and T20
•
Water level
•
Pencil
•
Pocket rule
How to mount:
I am not responsible for any damage caused by improper use. You do it on your own risk!
1. Place the mount plate centrally on the back of your ASUS router. The arrow on the
bracket must point upwards.
2. Pay attention to the exact orientation of the plate. Otherwise the screws will not fit
into the grid holes on the router. Take a look on Figure 1 for the right grid holes of
your router.
3. After you have aligned the bracket exactly on the back of your router, screw in one
screw after the other very carefully. Do this only by hand with a lot of feeling.
Caution: If you overtighten the screws, you may damage your router.
Now you can prepare the mount or ceiling:
4. Place the template on the wall or ceiling. For wall mounting, the two holes in the
template must be horizontal to each other. Use a spirit level as shown in Figure 2.
5. Now mark the holes on the wall or ceiling with a pencil. At these points the 4x35mm
screws come into the wall. Work with precision.
6. Do not screw the screws all the way into the wall or ceiling. Allow both screws to
protrude about 4mm from the wall or ceiling.
7. Now attach the router carefully. If the screw heads do not fit properly into the flange
of the router mount plate, the tighten the 4x35mm screws more or less.
8. That's it. Enjoy!
IF YOU NEED HELP, FEEL FREE TO CONTACT ME:
I would be very happy to receive a picture of the successful installation!
Please leave a good feedback. THANK YOU!!!
