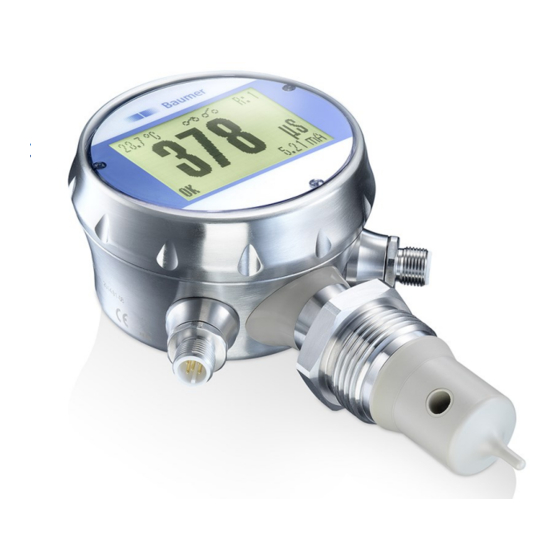
Baumer CombiLyz AFI4 Operating Instruction - Page 5
Browse online or download pdf Operating Instruction for Measuring Instruments Baumer CombiLyz AFI4. Baumer CombiLyz AFI4 36 pages. Conductivity transmitter
Also for Baumer CombiLyz AFI4: Manual (7 pages)

English
Mounting
Installation of 3-A approved and EHEDG certified products:
1) Use only a 3-A approved counter part
2) The inspection hole should be visible and drained
3) Mount the adapter in a self drained position/angle
4) Level the inner surface of the pipe with the counter part.
After installation
Check the leak tightness of the sleeve.
Check the tightness of glands or M12 plugs.
Check the tightness of the cover
The hole through the sensor must be in the flow direction
There must be some bi-directional flow through the hole to ensure a
homogeneous media - i.e. correct measurement. There must be no
air-bubbles in the hole.
Turning the housing (0...345°)
www.baumer.com
Example with
PM023 or PM053
Example
with PM060-1
Leakage indication hole
must be placed at the
lowest possible point
The marks on the
connection must
point in flow direction
Loosen the two
screws (1) turn
the head and
tighten in new
position.
1 1
2 mm
key
CombiLyz, AFI4 / AFI5
Operating Instruction
5) The 3-A mark or the arrow shall be placed upwards
6) Welding should be grinded to Ra= 0.8
7) Tighten the swirling nipple on the AFIx 20...25 Nm
8) Installed with correct torque the electrical connection
will point downwards
If the seal is leaking and the media appears in the inspection hole, the
seal is to be changed immediately.
Before re-assembly, clean the hole and inside of the connection with
detergent and sanitising liquid. Use a small brush. Verify that all of the
inside area is completely clean.
Re-assemble and verify that the connection is tight.
The sensor must be fully submersed in the media.
To avoid turbulence problems the
sensor is recommended to mount
in a distance of >1 meter from a bend.
Example
with PM060-2
Horizontal pipe
bottom mounted
sensor
Vertical pipe
rear mounted
sensor
Operating Instruction: 11126179 05
WARNING
Cannot be
drained
Fitted
incorrect
Page 5 / 36
