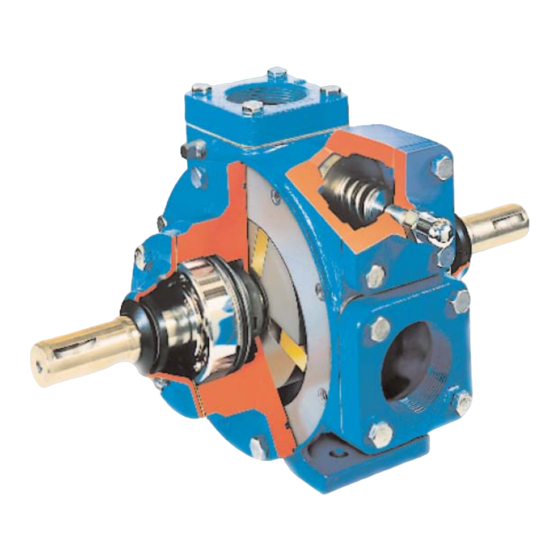
Dover PSG Blackmer TXD1200 Series Installation, Operation And Maintenance Instructions - Page 9
Browse online or download pdf Installation, Operation And Maintenance Instructions for Water Pump Dover PSG Blackmer TXD1200 Series. Dover PSG Blackmer TXD1200 Series 12 pages.

PUMP ASSEMBLY
Before reassembling the pump, inspect all component
parts for wear or damage, and replace as required. Wash
out the bearing/seal recess of the head and remove any
burrs or nicks from the rotor and shaft.
1. Reassemble the OUTBOARD side of the pump first:
a. For a CLOCKWISE rotation pump, position the pump
cylinder with the INTAKE port to the left.
b. For a COUNTERCLOCKWISE rotation pump, position
the pump cylinder with the INTAKE port to the right.
2. Install a new head O-ring (72) in the groove in the head.
Lightly grease the outside circumference of the O-ring to
facilitate head installation. Start in on one side of the
groove, stretching ahead with the fingers. See Figure 6.
Figure 6
3. Install the head (20) on the outboard side of the cylinder.
Install and uniformly tighten four head capscrews (21) 90°
apart, torquing to 25 lbs. ft (34 Nm).
4. MECHANICAL SEAL
Apply a small amount of motor oil in the head recess.
Push the mechanical seal assembly (153) into the recess
of the head with seal jacket drive tangs inward. The pin in
the stationary seat must be between the lugs in the back
of the head recess.
5. Hand pack the ball bearing (24) with grease. Refer to the
"Lubrication" section for the recommended grease.
6. Install the bearing into the head recess. The bearing balls
should face outward, with the grease shield inward.
Ensure the bearing is fully and squarely seated against
the mechanical seal.
7. Turn the pump cylinder around and begin assembly on the
opposite, inboard end.
8. Inspect the vanes (14) for wear and damage, and replace
as follows:
a. Install the non-driven end of the rotor and shaft (13)
into the open side of the pump cylinder.
b. Insert the new vanes into the rotor slots with the
rounded edges outward, and the vane relief grooves
facing TOWARDS the direction of rotation. See Figure
4.
c. Rotate the shaft by hand to engage the drive tangs
of the seal jacket in the rotor slots.
9. Install the inboard head (20), mechanical seal, and
bearing as instructed in steps 2 through 7. Apply a thin
coating of motor oil on the inboard shaft to aid installation.
MAINTENANCE
10. Rotate the shaft by hand to engage the mechanical seal
drive tangs, and to test for binding or tight spots. If the
rotor does not turn freely, lightly tap the rims of the heads
with a soft faced mallet until the correct position is found.
Install all of the remaining head capscrews for each head
and uniformly torque to 25 lbs. ft (34 Nm).
11. LOCKNUT INSTALLATION
The bearing locknuts (24A) and lockwashers (24B) MUST
be installed and adjusted properly. Overtightening
locknuts can cause bearing failure or a broken lockwasher
tang. Loose locknuts will allow the rotor to shift against
the heads, causing wear. See Figure 7.
a. On both ends of the pump shaft, Install a lockwasher
(24B) with the tangs facing outward, followed by a
locknut (24A) with the tapered end inward. Ensure the
inner tang "A" of the lockwasher is located in the slot
in the shaft threads, bending it slightly, if necessary.
b. Tighten both locknuts (24A) to ensure that the
bearings (24) are bottomed in the head recess. DO
NOT overtighten and bend or shear the lockwasher
inner tang.
c. Loosen both locknuts one complete turn.
d. Tighten one locknut until a slight rotor drag is felt when
turning the shaft by hand.
e. Back off the nut the width of one lockwasher tang "B".
Secure the nut by bending the closest aligned
lockwasher tang into the slot in the locknut. The pump
should turn freely when rotated by hand.
f. Tighten the opposite locknut by hand until it is snug
against the bearing. Then, using a spanner wrench,
tighten the nut the width of one lockwasher tang.
Tighten just past the desired tang, then back off the
nut to align the tang with the locknut slot. Secure the
nut by bending the aligned lockwasher tang into the
slot in the locknut. Tighten locknut setscrews (24C) on
both ends of shaft. The pump should continue to turn
freely when rotated by hand.
g. To check adjustment, grasp the nut and washer with
fingers and rotate back and forth. If this cannot be
done, one or both locknuts are too tight and should be
alternately loosened one stop at a time (.001") (25
microns). Begin by loosening the locknut adjusted last.
201-D00
page 9/12
Figure 7
Locknut Adjustment
