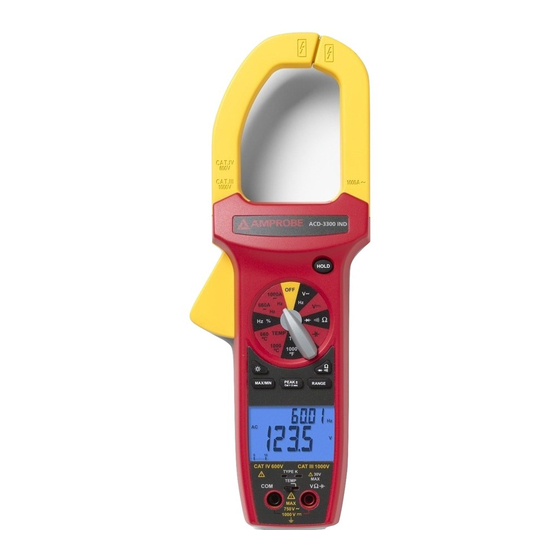
Amprobe ACD-3300 IND User Manual - Page 10
Browse online or download pdf User Manual for Measuring Instruments Amprobe ACD-3300 IND. Amprobe ACD-3300 IND 17 pages. Cat iv industrial true rms clamp meters

1.888.610.7664
5.
Reverse probes. If the diode is good, "OL" is displayed. If the diode is shorted, "0.00"
or another number is displayed.
6.
If the diode is open, "OL" is displayed in both directions.
7.
Audible Indication: Less than 30
Ω.
Temperature Measurement (ACD 3300 IND only) (See fig. 6)
1.
Verify the location being tested is not electrically energized.
2.
Set the Function Switch to °C and range or °F and range.
3.
Move the slide knob to the TEMP position. Insert the thermocouple plug matching
the slot widths.
4.
Connect the thermocouple bead to the test point.
5.
Read the display. If
0L appears on the display, the temperature is too large to be
measured or the thermocouple is open.
Note: The test leads must be removed to move the slide plate to allow the
thermocouple to be inserted.
MAINTENANCE AND REPAIR
If there appears to be a malfunction during the operation of the meter, the following
steps should be performed in order to isolate the cause of the problem:
1. Check the battery.
2. Review the operating instructions for possible mistakes in operating procedure.
3. Inspect and test the test leads for a broken or intermittent connection.
Except for the replacement of the battery or test probes, repair of the multimeter
should be performed only by a Factory Authorized Service Center or by other qualified
instrument service personnel. The front panel and case can be cleaned with a mild
solution of detergent and water. Apply sparingly with a soft cloth and allow to dry
completely before using. Do not use aromatic hydrocarbons or chlorinated solvents for
cleaning.
battery Replacement (see fig. 7)
Warning
To prevent electrical shock or meter damage, disconnect the meter's test leads from
any circuit and the meter, then turn the meter off before removing the battery cover.
Battery replacement should be performed in a clean environment and with appropriate
care taken to avoid contaminating the meter's interior components.
1.
Remove the screws and lift the battery cover.
2.
Replace the battery with the same type, 9-volt battery.
Note polarity of the battery.
3.
Replace the rear case and screws.
SPECIfICATIoNS
general
Display: 3¾ digit liquid crystal display (LCD) (6600 count) with a 66-segment analog
bar-graph.
Polarity: Automatic, positive implied, negative polarity indication.
Over range: (OL) or (-OL) is displayed.
Zero: Automatic.
Low battery indication: The "" is displayed when the battery voltage drops below
the operating level.
Auto power off: Approx. 30 minutes.
Backlight: Backlight auto-off approx. 60 sec.
Measurement rate: 2.8 times per second, nominal.
www.calcert.com
15
10
20
5
25
0
30
9
