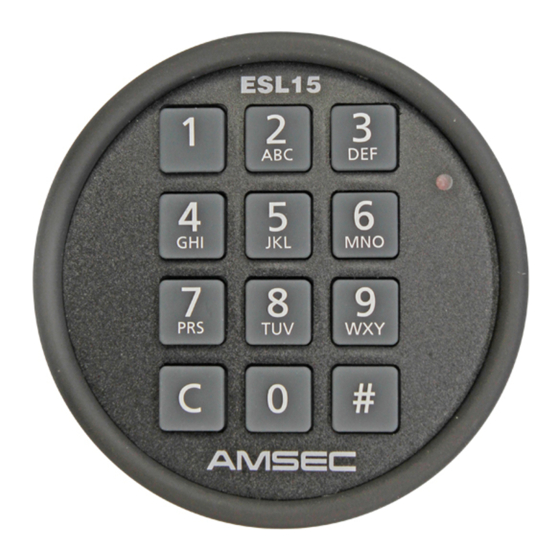
AMSEC ESL15 Operating Instructions Manual - Page 2
Browse online or download pdf Operating Instructions Manual for Locks AMSEC ESL15. AMSEC ESL15 10 pages. Electronic lock
Also for AMSEC ESL15: Operating Instructions (4 pages)

American Security Products Co.
If you press any key during the Penalty Lockout Period, the red LED will flash and you will hear 8 rapid
chirps. Removing power does not reset the Penalty Lockout.
Before keying the combination, be sure that the handle of the safe is centered in the locked position to
allow the lock to open freely.
If the lock fails to open or acts strangely, replace the batteries with fresh alkaline 9-volt batteries. See
Replacing the Batteries
"
a year to prevent corrosion damage from leakage and assure you always have ample power to open the
lock.
During the input sequence, if you make a mistake, you can press "C" to clear the previous input and start
over again.
Use only your fingers to key the combination. Sharp objects will result in damage, which is not covered by
the warranty.
If at any time during opening the lock or changing the combination, no keys are pressed for 10 seconds,
the lock will return to a resting condition. If this occurs during a combination change, the old combination
is retained.
When opening or changing the combination on your lock, the ESL15 will register the first 5 digits of the
combination into the buffer that receives input. The 6th digit will be the last numeric key pressed. For
example, if you press C-1-2-3-4-5-7-4-5-2-7-6-# the program recognizes only the C-1-2-3-4-5-6-#
input. The last numeric key pressed continues to replace the one prior until the "#" key is pressed to
indicate completion. This is a security feature that allows you to baffle any onlookers who may be trying
to memorize your combination.
Replacing the Batteries
Always use a fresh set of name-brand Alkaline Batteries for best results.
1. Grip the keypad and rotate approximately 1/8 turn counter-clockwise to disengage the keypad from the
base.
2. Carefully pull the keypad away from the base, taking care to not stress the cable that connects the keypad
to the lock inside the safe.
Do not allow the keypad to hang on the cable.
3. Lift the two 9-volt batteries out of the pockets where they are retained.
4. Carefully remove the battery clips from the end of the batteries, making sure you don't pull on the wires
and disconnect the battery clip from the PC board.
5. Snap on two new 9-volt batteries onto the clips, making sure they are tight with no loose contacts.
6. Press the two batteries back into their pockets, taking care to route the wires in the open cavity so they
are not positioned where they will get pinched under the batteries when the keypad is placed on the base.
7. Replace the keypad on the base, starting with the top of the keypad around the 11:00 position, pressing
down to seat it where the three retaining tabs go into the receiving slots, then rotate clockwise to vertical.
You should feel a bit of a snap as it locks into position when the keypad is level.
Revision A
ESL15 Operating Instructions
" on 8 2 of these instructions. It is a good practice to replace your batteries once
Page 2 of 10
Released Aug. 9, 2018
