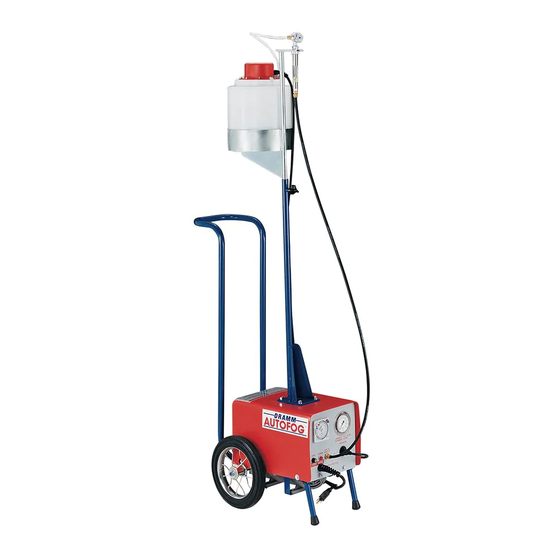
Dramm Autofog MLVH-10A Owner's Manual - Page 19
Browse online or download pdf Owner's Manual for Paint Sprayer Dramm Autofog MLVH-10A. Dramm Autofog MLVH-10A 20 pages.

1. The spray pattern exits the nozzle in short bursts – it
should exit as a steady stream.
A. The nozzle cap is not secure or properly lined up.
Screw it on completely and then turn the cap
counter clockwise so the two check marks on the
nozzle line up. Check the nozzle calibration for
45cc/minute output rate. See diagram below.
Suction Tube
Checkmark
B. The nozzle cap has an O-Ring inside which may
be damaged. Replace the O-Ring if it is cracked,
broken or in some way damaged.
C. Inspect the suction tube for clogging or damage.
To remove the suction tube from the nozzle first
loosen the nut that holds the tube to the nozzle.
Now, pull the tube out of the nozzle. Notice
the metal sleeve on the tube, inspect it carefully.
In most cases the sleeve must be replaced if it is
damaged, dented, bent or cracked.
DO NOT OVER TIGHTEN NUT
Suction Tube
21
Dramm Autofog MLVH-10A Manual
Troubleshooting
Nozzle Cap
Checkmark
Nut
Sleeve
D.
The nozzle and/or solution tank may be clogged
with chemical residue. Soak the nozzle
overnight, then clean the inside of the nozzle.
E.
The suction tube may be clogged or damaged. With a
gloved hand, cover the nozzle tip. This reverses the
flow of air and blows the suction tube clean of any
debris. Remove and clean the tube or replace it if
necessary. See the diagram below.
NOTE:
ALWAYS wear a glove when covering the nozzle.
F.
The suction tube is above the surface of the solution in
the tank. Make sure the suction tube is pushed down
completely.
G. The filter at the bottom of the stainless steel suction
tube is clogged and needs cleaning. Inspect the entire
suction tube for clogging.
Continued on the next page...
