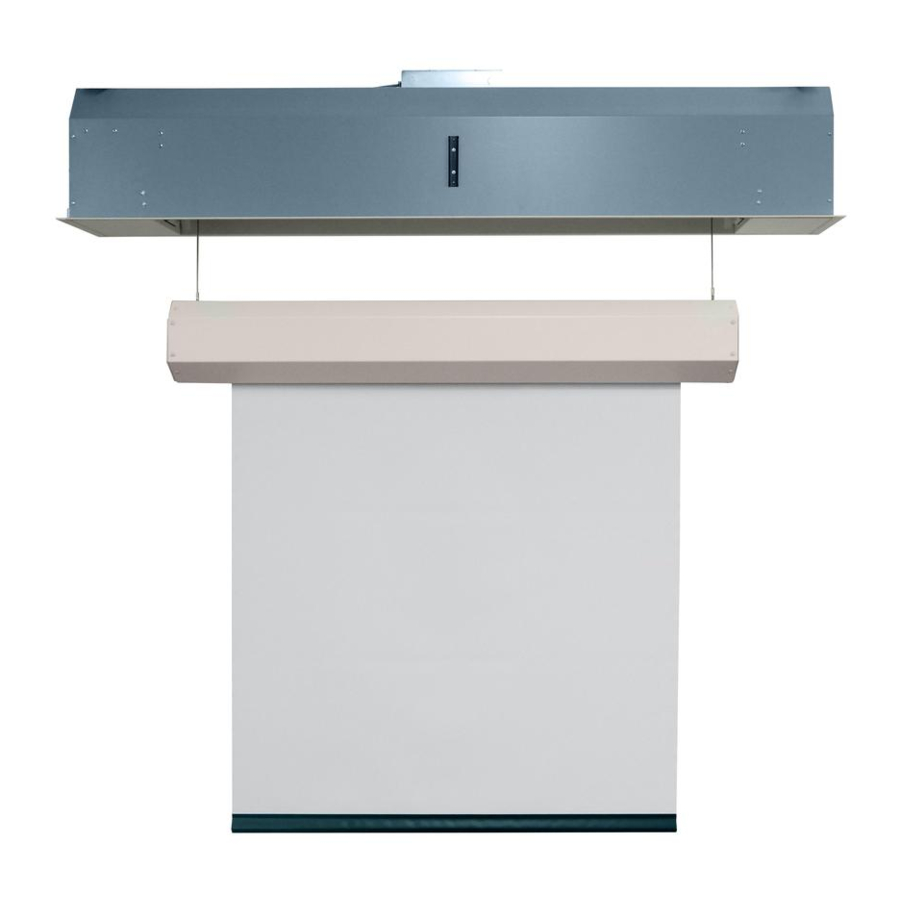
Draper Ropewalker Instructions Installation & Operation - Page 5
Browse online or download pdf Instructions Installation & Operation for Projection Screen Draper Ropewalker. Draper Ropewalker 8 pages. Electric projection screen with cable drop

Ropewalker
Section 6 - Leveling Viewing Surface
WARNING: Do not adjust the jackscrews that connect the cables to the screen case without consulting Draper
The Ropewalker case must be installed level
Due to screen configuration and manufacturing tolerances, it may be necessary to re-level the viewing surface within the screen case:
1. Raise or lower viewing surface to the viewing position.
2. Using a T20 Torx screwdriver, remove the three
3. Remove the endcap from the end of screen case.
4. Once the endcap is removed:
A. Loosen both roller mounting bolts and the locking nuts
B. Turn the two
adjustment bolts to raise or lower the audience right end of the viewing surface roller.
(2)
C. Check with a 4-foot level. Adjust until dowel is level.
D. Once level, retighten locking nuts, mounting bolts and re-attach the endcap.
Figure 7
T20
Screw
A
Loosen these two
(2) mounting bolts
B
Loosen Locking Nuts.
C
Adjust bolts to level screen.
Retighten Locking Nuts.
T20 Screw
End View of Screen Case
(endcap removed)
(NOTE: This step may not be needed. Contact Draper.)
. Cables are adjusted at the factory.
(Section 2)
Torx head screws from audience right end of the screen case.
(3)
.
(Fig. 7)
Jackscrew
Do Not Adjust
T20
Screw
Back View of Screen Case
page 5 of 8
technical support!
®
