BCN3D Sigma Series Quick Start Manual
Browse online or download pdf Quick Start Manual for 3D Printers BCN3D Sigma Series. BCN3D Sigma Series 2 pages.
Also for BCN3D Sigma Series: Quick Start Manual (2 pages), Quick Start Manual (2 pages)
Quick Start Guide in your
own language
User Guide
For more detailed
information about the
processes, read the User
Manual.
Unboxing video
Unboxing
Watch our video to see
how to correctly unbox.
Set up video
Install printing surface
Watch our video to see
how to correctly position
the build plate.
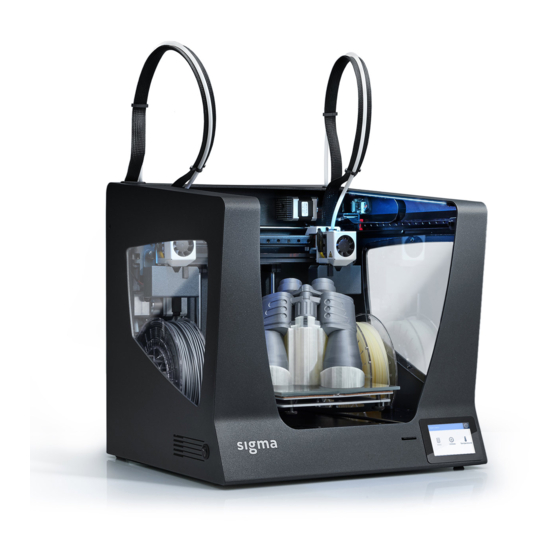
Quick Start Guide
BCN3D Sigma Series
We would like to thank all users for trusting BCN3D, for helping us to reach our
dreams and to create a better product every day.
1. Unboxing
The printer is heavy and therefore this step needs to be performed by two people. Make sure
that the table where the printer is being installed, is close enough.
Retain packaging for warranty service.
1. Remove the components
from the foam and place
them on a table. Then
remove the foam and the
cardboard.
2. Set up
Remove protections
• Remove the protective foam under the platform.
• Remove the belt clips that prevent the axes from moving during transportation.
There are four in total: two in the X belts (in front) and two in the Y belts
(one on the left and one on the right).
Install plastic covers
• Take the plastic covers from the packaging and thumbscrews from the accessories box.
• Peel off the protective films.
• Use the thumbscrews to install the plastic covers.
Install build plate
• Pivot the left and right spring clips away from the aluminium plate.
• Take the glass build plate from the upper protective foam.
• Place the build plate on top of the aluminium plate.
• Insert the build plate with light force into the back spring clips.
• Fix it with the left and right spring clips.
The glass build plate must be handled with care. In case of breakage, it may cause injuries.
Specifications subject to change. EN-MSS-2021-v1.2
2. Remove the lateral foam
protections.
Proper area to take out the
printer with your hands.
3. Lift the printer with care
holding it from the side
flanges and place it on the
table.
4. Open the plastic bag
containing the printer.