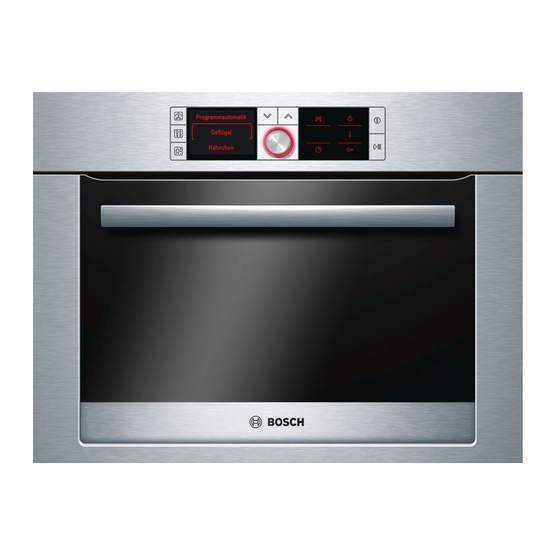
Bosch HBC38D754 Instruction Manual - Page 8
Browse online or download pdf Instruction Manual for Oven Bosch HBC38D754. Bosch HBC38D754 36 pages. Combination steam oven

Fitting the grease filter in place
Hook the enclosed grease filter onto the hot air grille in the
back wall of the cooking compartment.
Leave the grease filter in the cooking compartment for all
applications.
Operating the appliance
In this section, you can read about
how to fill the water tank
■
how to switch the appliance on and off
■
what to note after each use
■
how you can use the recommended settings
■
Filling the water tank
When you open the appliance door, you will see the water tank
on the right-hand side.
Caution!
Use of unsuitable liquids may damage the appliance
Only use fresh tap water, softened water or uncarbonated
■
mineral water.
If your tap water is very hard, we recommend that you use
■
softened water.
Do not use distilled water, highly chlorinated tap water
■
(> 40 mg/l) or other liquids.
You can obtain information about your tap water from your
water supplier. The water hardness can be checked with the
test strips enclosed.
Fill the water tank before each use:
Open the appliance door and take out the water tank (fig. A).
1.
Fill the water tank with cold water up to the "max" mark (fig.
2.
B).
$
8
%
P D [
:
Risk of injury!
You could hurt yourself on the grease filter hooks. Always clean
the grease filter with care. Always place the grease filter in the
dishwater so that the hooks for fixing it in place are facing
downwards.
Clean the grease filter with hot soapy water or in the
dishwasher every time heavy dirt deposits have been left
behind after cooking.
Close the tank cover until you feel it engage.
3.
Slide in the water tank all the way (fig. C).
4.
&
The tank must be flush with the water tank recess (fig. D).
Switching on the appliance
Note: Always use the cooking container and wire rack in their
standard position (not the other way up).
Press the
button to switch on the appliance.
%
1.
The button description appears in the display for
approximately 4 seconds. The display then switches
automatically to the "Types of heating" menu.
Or press the
button to go directly to the "Types of heating"
å
menu.
Turn the rotary selector to set the desired type of heating.
2.
7\SHV RI KHDWLQJ
7RSERWWRP KHDWLQJ
+RW DLU
&
&
'
