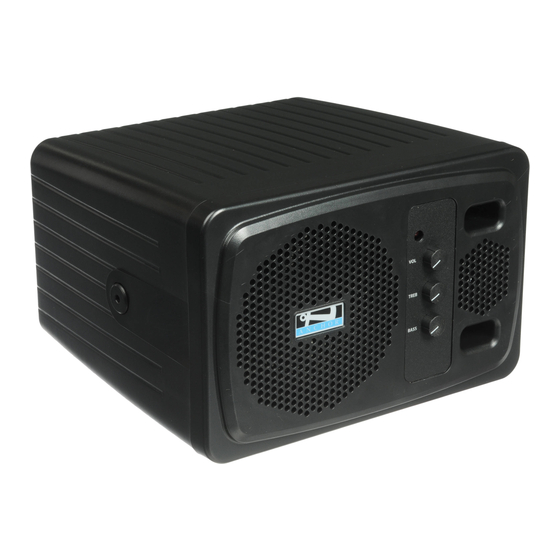
Anchor AN-130+ Owner's Manual - Page 5
Browse online or download pdf Owner's Manual for Speakers Anchor AN-130+. Anchor AN-130+ 6 pages.
Also for Anchor AN-130+: Owner's Manual (7 pages), Owner's Manual (14 pages), Owner's Manual (14 pages)

AN-130+ Speaker Monitor Owners Manual
OPERATING THE WIRELESS MICROPHONE/TRANSMITTER
CHANNEL SELECTION - HANDHELD TRANSMITTER
1. Unscrew battery cover on bottom of microphone
2. Set the CHANNEL SELECTOR dial to match the channel setting
of your receiver
3. Replace battery cover and tighten firmly
USING YOUR WIRELESS MICROPHONES
After you have set the transmitter channel (see above) you are ready to use your wireless microphone:
1. Body-pack transmitter users must insert
the mic
plug into the transmitter jack marked MIC
2. Turn the transmitter power switch to ON
(The red LED will flash when the mic is
turned on. If the red LED stays on,
the battery is low)
REPLACE BATTERY - HANDHELD TRANSMITTER
1. Unscrew battery cover on bottom of microphone
2. Replace old batteries with two fresh size 'AA'
alkaline batteries
3. Replace battery cover and tighten firmly
NOTE: When using dual wireless, each microphone must be set to a different channel.
CAUTION: Harmful feedback may occur when walking in front of a sound system or speaker with a wireless microphone. Always point microphone away from speakers.
NOTE: Transmitter power must be OFF when changing batteries.
CHANNEL SELECTION - BODY-PACK TRANSMITTER
1. The channel selection dial is located on the side of the transmitter
2. Set the CHANNEL selection dial to match the channel setting of
3. Turn the AN-130+ power switch to ON
4. The RX indicators will light (only one indicator
will light at a time) when the wireless signal is
being transmitted and received
REPLACE BATTERY - BODY-PACK TRANSMITTER
1. Slide open battery cover on front of transmitter
2. Replace old batteries with two fresh size 'AA'
alkaline batteries
3. Replace battery cover by sliding firmly into place
the receiver
MADE IN USA
SIX YEAR WARRANTY
5
