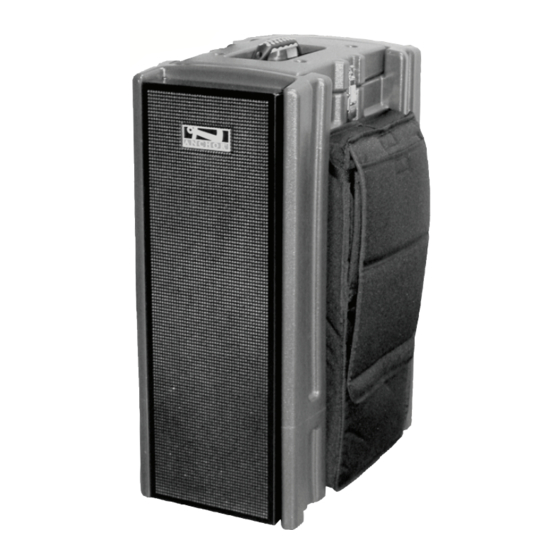
Anchor Beacon BEA-6000CU1 Owner's Manual - Page 3
Browse online or download pdf Owner's Manual for Speakers Anchor Beacon BEA-6000CU1. Anchor Beacon BEA-6000CU1 4 pages. Portable line array sound system
Also for Anchor Beacon BEA-6000CU1: Specifications (2 pages), Specifications (1 pages), Owner's Manual (4 pages)

USING EXTERNAL AUDIO
The External Audio Input Jack can be used to connect
your Anchor Audio portable CD player, or other digital
audio device, directly to your Beacon Sound System.
The volume level for these external devices is controlled
with the External Accessory Volume Control located on
the control panel.
ANCHOR AUDIO CD PLAYER
The Anchor Audio portable CD player is located in the
accessory storage bag and comes already connected to
the External Audio Input Jack so it's ready to play.
Operating instructions and warranty information can be
found in the literature accompanying the CD player.
NOTE: For optimum sound quality set the CD player volume control to maximum
& adjust playback volume w/ the External Accessory Volume Knob.
DIVERSITY WIRELESS BY ANCHOR AUDIO
Anchor Audio UHF wireless is a 16 channel, diversity wireless system that receives signals with two independent antennae.
With diversity wireless the receiver processes the stronger signal, effectively minimizing dropouts and interference from other
transmitting sources. The antennae are mounted internally so there are no obstructions or risk of damage.
CHANNEL SELECTION - BUILT-IN RECEIVER
Select a channel, set the built-in receiver & microphone transmitter
to that channel before using your wireless system.
1. Choose any available wireless channel/frequency from
1 thru 16 (see page 7 for transmitter instructions)
2. Set the Wireless Channel Selector Knob to the channel/
frequency you choose in step 1
If you have two wireless receivers repeat above for the second
receiver. Remember each receiver/transmitter pair must be set to
different channels to avoid interference.
NOTE: Ongoing wireless interference? The frequency you selected may be in use by
other systems in the area! Change channels until you find a clear frequency!
ANCHOR WIRELESS UHF TRANSMITTERS & MICROPHONES
WH-6000 - Handheld Microphone/Transmitter
WB-6000 - Body Pack Transmitter
Works w/ hands free microphones (mic not included)
Body Pack Transmitter Microphones:
CM-60 - Collar Microphone
Lightweight, low-profile mic
6
EXTERNAL ACCESSORY
EXTERNAL AUDIO
VOLUME CONTROL
INPUT JACK
ANCHOR AUDIO
CD PLAYER
VOLUME CONTROL
CHANNEL SELECTION
RX INDICATOR
LIGHTS
WIRELESS ON
INDICATOR LIGHT
POWER BUTTON
EM-60T - UltraLite Microphone
Hands free "Over-the-Ear" mic
LM-60 - Lapel Microphone
Lightweight, clip-on lapel mic
HBM-60 - Headband Microphone
Ultra-lightweight headband mic
CONTROLLING FEEDBACK
Feedback, a howling noise or shrill sound, is self-generated by the sound system. It's caused by a microphone picking up the sound
coming from the speaker and then re-amplifying it. Once a feedback loop starts it continues until the system is adjusted.
FEEDBACK CAUSES
• Microphone too close, pointing towards
or in front of speaker
• Volume setting is too loud for room
• Sound reflecting off hard surfaces
AVOIDING & ELIMINATING FEEDBACK
• Point microphone in a different direction
• Keep microphone away from the speaker
• Place speaker in FRONT of the microphone
• Reduce the sound system volume levels
CAUTION: Feedback can damage your equipment & may be hazardous to hearing.
Beacon Portable sound systems are equipped with a removable Travel Dolly that features wheels and a retractable handle. To
eliminate possible vibration from effecting the performance of your unit we recommended that you remove the Travel Dolly
before operating the system.
RETRACTABLE
KNOB
HANDLE
(CLOSED)
RELEASE PEDAL
WIRELESS
NEED MORE HELP? Beacon Sound System Setup & Operation Videos!
Visit Our Website: www.anchoraudio.com/beacon.php
SOUND SYSTEM ACCESSORIES
MIC-90 - Handheld Wired Microphone
Dynamic, balanced, low impedance microphone w/ unidirec-
tional pick-up pattern, mic "on/off" switch, 20' cable & mic clip
CORRECT SYSTEM PLACEMENT
BEACON TRAVEL DOLLY
REMOVING TRAVEL DOLLY
1. Press & hold the spring-loaded
TOP BRACKET
Release Pedal located on the
Bottom Bracket
2. Swing the dolly bottom away
from the system
3. Lift Handle up to remove dolly
from the Top Bracket
BOTTOM BRACKET
Reverse steps to reattach the dolly.
CD-EXT - CD Player
Portable CD player for use with the external audio input jack
HC-1660 - Hard Case
For travel or storage - holds one Beacon sound system
WRONG SYSTEM PLACEMENT
3
