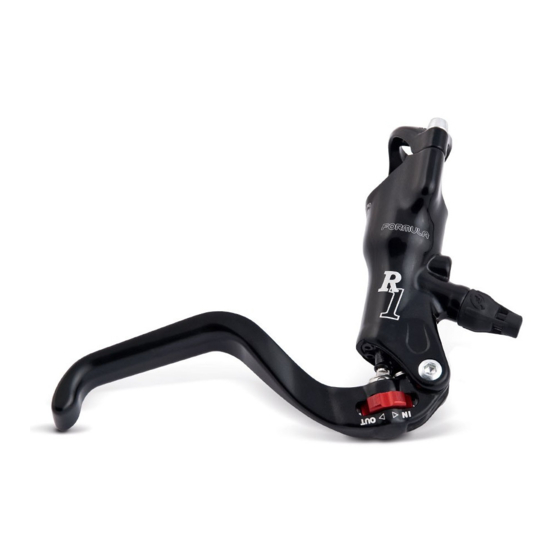
Formula T1S Operating Manual - Page 11
Browse online or download pdf Operating Manual for Bicycle Accessories Formula T1S. Formula T1S 20 pages.

- Place the caliper on the adapter 6, making sure the disk enters inside the pads without any
interferences and that the caliper 7 is in place.
- Insert (making sure threadblocker is present) the screws 8 with the washers 9 and tighten
them but not completely using a 5mm hex. socket wrench.
- Slightly loosen the screws 8 and center the caliper and pads.
- Pull the pump lever 2 -3 so that the caliper can center itself with the disk.
- Keep the pump lever down and tighten the screws to a torque setting of 9 Nm±5%.
Go to step 4).
FRONT POST MOUNT FORK
WARNING! DO NOT DISASSEMBLE OR ATTEMPT TO MODIFY, THIS NEW
FORMULA SRL PRODUCT!
Service on this product must be performed by qualified professional mechan-
ics only who are familar with and understand the technical details of how this
product works.
If you decide to ignore this important safety warning, you are doing so at your
own risk and at no legal liability to FORMULA SRL or its distributors.
CAUTION: You must use a torque wrench to assemble the the fasteners.
CAUTION: When removing the screws, always make sure that medium strength Loctite®
is applied when reassembling, and that the correct torque wrench settings are used.
CAUTION: Make sure the washers are installed before assembling the fasteners.
CAUTION: When mounting the caliper onto the fork, check that the caliper body is not in
contact with the fork itself.
IT CAN BE USED FOR ALL FORMULA BRAKE MODELS
This adapter can be used in various applications:
1) Installing directly onto a POST MOUNT fork
- Place the caliper 13 in the fork seat checking insertion
without forcing or interference of the pads in the disc and
caliper in the seat.
- Insert the screws 15 (apply medium-strength Loctite® if
not present) with the relative washers 15a.
- Pull the pump lever 2–3 times to center. Keep it pulled and
tighten the screws with a 5mm hex. socket wrench.
- Tighten the screws to a torque setting of 9 Nm±5%.
(Go to step 4).
2) Assembly with POST MOUNT adapter FOR 180 Disc
- Insert the special washers 17 on the screws 18 making sure
the concave and convex profiles material.
- Make sure Loctite® is present on the screw (apply medi-
um-strength Loctite® if not present).
- Put in all the parts, including the caliper 19 and adapter 20
on the screw following the order shown in the figure.
26
13 15a
15
15
15a
20 19
17
18
long
short
17
18
