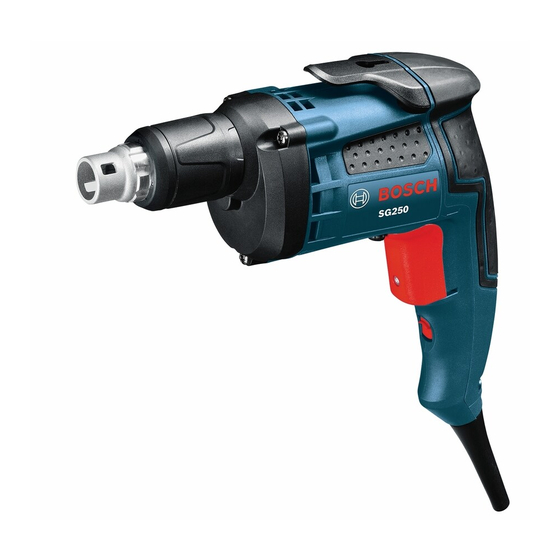
Bosch SG250 Operating/Safety Instructions Manual - Page 8
Browse online or download pdf Operating/Safety Instructions Manual for Power Tool Bosch SG250. Bosch SG250 33 pages.
Also for Bosch SG250: Operating/Safety Instructions Manual (32 pages)

BM 2610023125 02-12:BM 2610023125 02-12.qxp 2/8/12 2:21 PM Page 8
REPLACING BIT TIPS AND
BIT TIP HOLDERS
1. Remove the nose piece by grasping firmly
WITH FINGERS and pulling straight out. DO
NOT USE PLIERS (Fig. 5).
2. Remove the bit tip by grasping firmly and
pulling straight out. If the bit tip holder comes
out with the bit, separate them. If you are
replacing the bit tip holder too, grasp it firmly
FIG. 5
MOUNTING THE AUTO-FEED ATTACHMENT
1. Remove nose piece and bit holder from the
tool.
2. Insert the special extended screwdriver bit into
the tool (Fig. 7).
3. Slide the auto-feed attachment MA-55 over the
special extended screwdriver bit to the stop on
the motor housing (Fig. 7).
INSERTING A SCREW STRIP
Disconnect the plug from the
WARNING
power source and/or battery
pack from power tool before making any
adjustments, changing accessories, or
storing power tools. Such preventative safety
measures reduce the risk of starting the power
tool accidentally.
1. After auto-feed attachment has been mounted
to tool, slide collated screw strip through the
strip guide on the auto-feed attachment (Fig. 2).
2. To avoid jamming screws into auto-feed
attachment, carefully slide collated screw strip
through the guide strip until first screw is
engaged in the self-feeding mechanism (Fig. 2).
3. An engaged screw strip must exit through the
top of the self-feeding mechanism.
Assembly
NOSE PIECE
and pull it straight out. If you cannot remove
the bit tip or the bit tip holder using fingers
only, you may use pliers on these two parts
only (Fig. 6).
DO NOT USE PLIERS ON NOSE PIECE.
Reverse the process to the point of installing
nose piece.
3. Then WITH YOUR FINGERS, install nose
piece by pushing inward.
FIG. 6
BIT TIP
After screw strip is installed,
CAUTION
do not pull strip backwards.
Any attempt to pull screw strip through the
bottom of the self-feeding mechanism may
damage the auto-feed attachment. To remove
screw strip, pull strip from the top of the self-
feeding mechanism.
SPECIAL EXTENDED
SCREWDRIVER BIT
-8-
BIT HOLDER
FIG. 7
AUTO-FEED
ATTACHMENT
(MA-55)
