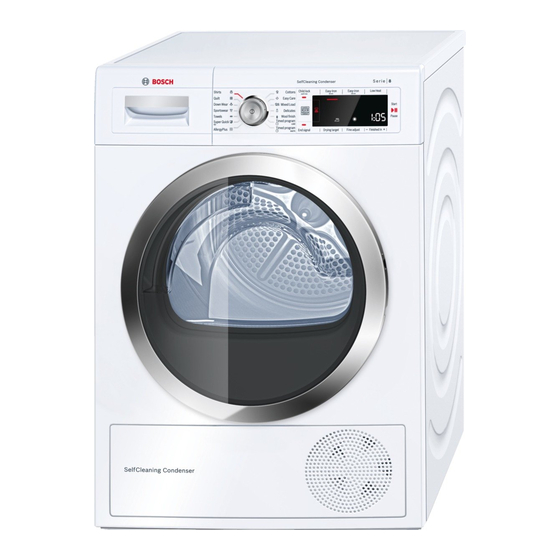
Bosch WTW87565AU Installation And Operating Instructions Manual - Page 12
Browse online or download pdf Installation And Operating Instructions Manual for Dryer Bosch WTW87565AU. Bosch WTW87565AU 48 pages.
Also for Bosch WTW87565AU: Installation And Operating Instructions Manual (32 pages)

Energy-saving tips
en
7
Energy-saving tips
Spin the laundry before drying. The
■
E n e r g y - s a v i n g t i p s
drier the laundry, the shorter the
programme will be, in turn reducing
energy consumption.
Load the appliance with the
■
maximum loads permitted for the
programmes.
If the maximum load is
Note:
exceeded, this extends the programme
duration and increases energy
consumption.
Operate the appliance in a ventilated
■
room and make sure that the air inlet
on the appliance is unobstructed so
that air exchange can take place
unhindered.
Regularly remove the fluff from the
■
appliance. If there is fluff in the
appliance, this extends the
programme duration and increases
energy consumption.
If you do not perform any actions on
■
the appliance for an extended period
before the programme starts or once
the programme has ended, the
appliance will automatically switch to
Energy saving mode. The display
and indicator lights will go out after a
few minutes and Start/Pause A will
flash.To end Energy saving mode, all
you need to do is perform an action
on the appliance, such as opening
and closing the door.
If you do not perform any actions on
■
the appliance for an extended period
when it is in Energy saving mode,
the appliance will automatically
switch itself off.
12
5
Installing and
connecting the
appliance
Included with the appliance:
I n s t a l l i n g a n d c o n n e c t i n g t h e a p p l i a n c e
( Accompanying documents (e.g.
installation and operating
instructions)
0 Fastening parts
8 U-piece for fixing the drain hose
in place
@ Drain hose
H Connection adapter
Remove any packaging and
1.
protective covers completely from
the appliance.
Open the door.
2.
Remove all the accessories from the
3.
drum.
You can now install and connect the
appliance.
