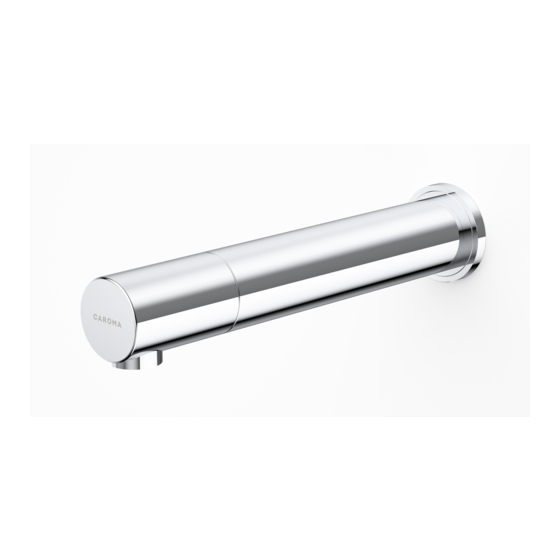
Caroma G Series Installation And Maintenance Manual - Page 11
Browse online or download pdf Installation And Maintenance Manual for Dispenser Caroma G Series. Caroma G Series 17 pages. Electronic soap dispenser
Also for Caroma G Series: Installation And Maintenance Instructions Manual (16 pages), Installation And Maintenance Instructions Manual (16 pages), Installation And Maintenance Manual (16 pages)

SETTINGS ADJUSTMENT
DETECTION RANGE: This outlet was supplied with a self adjusting sensor. The ideal detection range
for the specific location will be set automatically.
Only if necessary, use the remote control to adjust the sensor range as follows: Press the RANGE
button. Wait until a quick flashing of the LED in the sensor eye is perceived. Then, press + to
increase the range and – to reduce it. Every push will increase or decrease one level.
Note: Once you have changed the detection range with the remote control, the distance will be remembered
by the sensor, even if the power source is disconnected. To get back to the self adjustment mode, use the ADJ
button only.
Entrance to the self adjustment mode: Check that no objects are in front of the sensor. Press the
ADJ button. Once a quick flashing of the LED of the sensor eye is perceived, remove your hand
holding the remote control and move away from the sensor area. The ideal sensor range for the
specific location will be set automatically. Once the self adjustment has taken place, the solenoid
valve will be opened and closed for 1 second as an indication that the ideal sensor range was set
and the product is ready for use.
SECURITY TIME: The Security time, prevents continuous running of water due to reflections or
vandalism. By default, if the sensor is covered for more than 90 seconds the water flow will shut
automatically. To resume regular operation any obstruction must be removed.
Press the SEC button. Wait until a quick flashing of the LED in the sensor eye is perceived. Then,
press + to increase the security time and – to reduce it.
DELAY IN TIME: It is recommended to change the delay in time for flush valves for urinals or toilets
only. If required, the delay in time can also be modified in outlets as follows: Press the IN button.
Wait until a quick flashing of the LED in the sensor eye is perceived. Then, press + to increase the
delay in time and – to reduce it.
9
