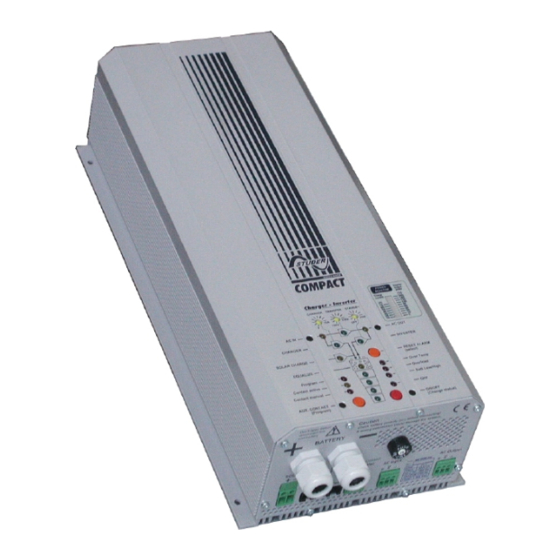
Compact C1312 User And Installation Manual - Page 4
Browse online or download pdf User And Installation Manual for Battery Charger Compact C1312. Compact C1312 14 pages. Sinewave inverter, battery charger

Studer Solartechnik
Battery
Positive
lead
Remote
Control
Input
Stage 1:- Connection to the battery
The Compact is supplied with heavy duty input cables. Firstly connect the Red cable onto the positive
terminal of the battery. On connecting the Black cable to the negative terminal a spark will be produced
as the input reservoir capacitors are charged. The Red LED 13* on the front of the unit marked 'OFF'
should be illuminated. If not, press the 'ON/OFF' button 19* positioned below to illuminate it.
On connecting to a battery the Compact needs 1 – 2 minutes to calculate the actual capacity of the
battery. During this time the LEDs 14–17* on the front of the unit indicate the battery condition as
100% charged.
If the LED 12* marked Batt Low/High is illuminated this indicates that the battery voltage is too low.
If the LED 12* marked Batt Low/High is flashing this indicates that the battery voltage is too high.
If the COMPACT is connected with the incorrect battery polarity it is probable that the internal input fuse
will be damaged. Before attempting to replace this fuse, ensure all connections (including the battery
leads) are removed. If after replacing this fuse and correcting the battery polarity the unit still does not
operate, the unit has received further damage and will need to be returned for repair.
Please refer to the 'Display and Operating Panel' photograph on page 6
Sinewave Inverter, Battery Charger
Installation of the Compact
Transfer
Temp
Delay
control
switch
Input
Battery
Negative
lead
Auxiliary
AC
Contacts
INPUT
- 4 -
AC
OUTPUT
