Dresser Masoneilan 10000 Series Instruction Manual - Page 8
Browse online or download pdf Instruction Manual for Control Unit Dresser Masoneilan 10000 Series. Dresser Masoneilan 10000 Series 12 pages. Double ported globe valves
7. Valve Body Reassembly
It is possible to change the valve from down seating to up
seating or vice versa.
however, the plug stem must be
re-pinned to the opposite end of the plug. (If at all possible, a
new stem should be used.) Then, simply invert the valve body
and reassemble. The tolerances and clearances explained in
this instruction apply to either seating direction.
After completion of the required maintenance, the valve should
be reassembled using the following procedures.
Note: If any of the following steps were completed during
maintenance proceed to the next step. If the bonnet, body
and bottom flange were marked in relation to each other,
remember to align these marks to obtain the same orientation.
A. Clean all gasket surfaces.
B. Apply a small amount of lubricant to the seat ring threads and
sealing shoulder and install.
C. using seat ring wrench, fabricated for removal, tighten seat
ring only enough to ensure a seal.
Do not over tighten. Do not strike the seat ring lugs.
This could distort the seat ring, resulting in unwarranted seat
leakage.
Note: Valve seats must be lapped before final assembly
(See section 6.3).
D. Install bottom flange gasket (13) bottom flange (10) and
loosely install body stud nuts (11). Install stem and plug
assembly (1, 8 and 9).
Bolt Torque and Tightening Sequence*
Valve Size
in
mm
¾
20
1
25
1½
40
2
50
3
80
4
100
6
150
8
200
10
250
12
300
14
350
16
400
note: (*) It is extremely important to tighten stud nuts evenly and in the sequence shown otherwise damage to the
guides or bushings could occur.
Instructions eh10000 - 06/10
10000 series Double Ported globe valves
E. Install bonnet gasket (13), bonnet (6) and loosely install body
F. Insert packing (17) and packing spacer (18).
G. Install packing follower (19) and packing flange (3).
H. Install packing flange stud nuts (2).
I. Install stem lock nuts and travel indicator on plug stem.
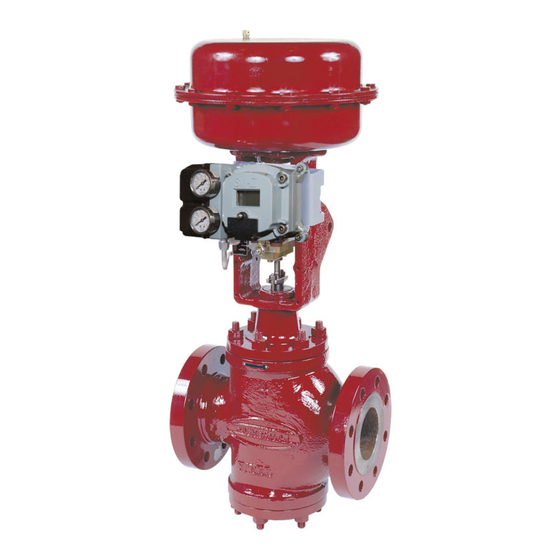
J. Proceed to the appropriate actuator instructions for actuator
ANSI Class
Qty
600
6
600
6
600
6
600
8
600
8
600
8
600
12
300
16
600
20
300
16
600
16
300
16
600
16
-
-
300
16
600
16
6
The upper plug must be installed so that the larger of the
two v notches in that plug is in line with the inlet of the valve.
Placement of a witness mark on the stem may be helpful.
stud nuts (11).
Note: For ease of accessibility the bonnet should be
positioned so that the packing flange studs are at right
angles to the flow center line.
refer to figure 10 for proper bolt torque and tightening
sequence specifications. Additionally the plug must be
stroked manually while evenly tightening the body stud nuts
(11) around both bonnet and bottom flange to ensure proper
alignment and prevent binding between the plug guides and
the bushings.
Do not tighten at this time. When placed in service they
should be tightened only enough to stop leaking.
to body assembly.
Studs
Size (in)
ft. lbs.
½-13
½-13
½-13
½-13
-11
5
/
8
¾-10
¾-10
-11
5
/
8
¾-10
¾-10
1
-8
/
1
8
-9
7
/
8
1½-8
-
1¼-8
1
-8
/
1
5
Maximum Torque*
m.daN
55
7,5
55
7,5
55
7,5
55
7,5
89
12
170
23
170
23
89
12
170
23
170
23
428
58
236
32
789
107
-
-
332
45
789
107