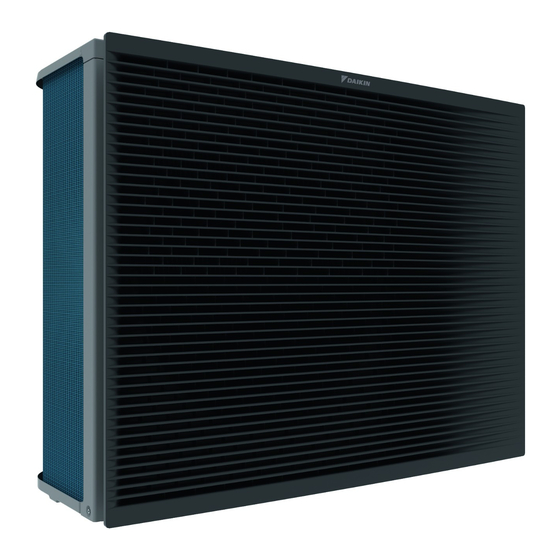
Daikin Altherma 3 H HT EPRA16DAV3 Installation Manual - Page 6
Browse online or download pdf Installation Manual for Heat Pump Daikin Altherma 3 H HT EPRA16DAV3. Daikin Altherma 3 H HT EPRA16DAV3 20 pages.
Also for Daikin Altherma 3 H HT EPRA16DAV3: Installation Manual (20 pages)

3 Unit installation
g
Discharge grille (upper + lower part)
h
Installation manual – Discharge grille
NOTICE
Unpacking – Front corners. When you remove the front
packaging corners, hold the box containing the discharge
grille to prevent it from falling.
3
Unit installation
3.1
Preparing the installation site
WARNING
The appliance shall be stored in a room without
continuously operating ignition sources (example: open
flames, an operating gas appliance or an operating electric
heater).
3.1.1
Installation site requirements of the
outdoor unit
Mind the spacing guidelines. See figure 1 on the inside of the front
cover.
Translation of text on figure 1:
English
General
No top-side obstacle
Top-side obstacle
Wall height unrestricted
The outdoor unit is designed for outdoor installation only, and for the
following ambient temperatures:
Cooling mode
Heating mode
Special requirements for R32
The outdoor unit contains an internal refrigerant circuit (R32), but
you do NOT have to do any refrigerant field piping, or refrigerant
charging.
Mind the following requirements and precautions:
WARNING
▪ Do NOT pierce or burn.
▪ Do NOT use means to accelerate the defrosting
process or to clean the equipment, other than those
recommended by the manufacturer.
▪ Be aware that R32 refrigerant does NOT contain an
odour.
WARNING
The appliance shall be stored so as to prevent mechanical
damage and in a well-ventilated room without continuously
operating ignition sources (example: open flames, an
operating gas appliance or an operating electric heater).
Installation manual
6
Translation
General
No top-side obstacle
Top-side obstacle
Wall height unrestricted
10~43°C
–28~35°C
WARNING
Make sure installation, servicing, maintenance and repair
comply with instructions from Daikin and with applicable
legislation (for example national gas regulation) and are
executed only by authorised persons.
3.2
Mounting the outdoor unit
3.2.1
To provide the installation structure
NOTICE
Level. Make sure the unit is level.
Use 4 sets of M12 anchor bolts, nuts and washers. Provide at least
150 mm of free space below the unit. Additionally, make sure the
unit is positioned at least 100 mm above the maximum expected
level of snow.
Anchor points
800
Pedestal
When installing on a pedestal, make sure that the discharge grille
still can be put in its safety position. See
discharge grille, and put the grille in safety position" on
(mm)
a
Make sure not to cover the drain hole in the bottom plate of
the unit.
3.2.2
To install the outdoor unit
1 Carry the unit by its slings, and put it onto the installation
structure.
(mm)
"6.3 To remove the
page 15.
4× M12
EPRA14~18DAV3+W1
Daikin Altherma 3 H HT
4P586100-1 – 2019.07
