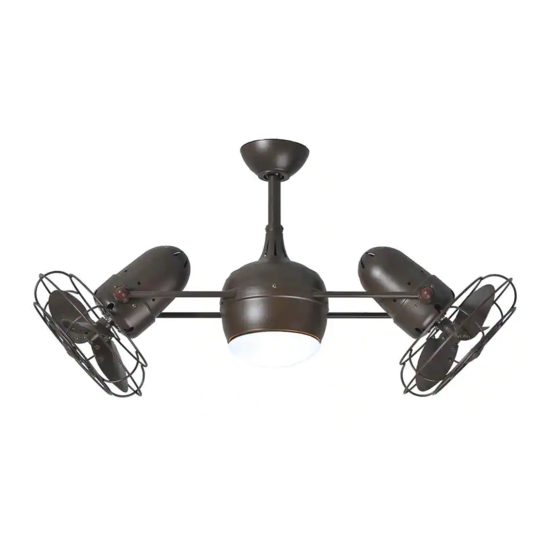
Atlas DAGNY Instructions Manual - Page 6
Browse online or download pdf Instructions Manual for Fan Atlas DAGNY. Atlas DAGNY 10 pages. Ceiling mounted rotational fan

10 A. Metal Blades and Decorative Cages: If
your fan is one with metal blades and
decorative cages, remove protective plastic
sleeve from the motor shafts, and then attach
the metal blades and cages. Bolts to attach
cages are in the hardware pack, 'i'. The Atlas
medallion should be oriented correctly. Handle
your blades carefully otherwise you will bend
the blade irons and cause your fan to vibrate
when in use. Caution: The set screw in the
blade hub must be counter-sunk into the
bore-hole on the flattened side of the motor
shaft - or else the blades may disengage from
the motor shaft during operation.
10 B. Metal Blades and Safety Cages: If your fan
is one with metal blades and safety cages,
remove protective plastic sleeve from the motor
shafts, then and attach the back side of the
safety cage. Bolts to attach cages are in the
hardware pack, 'i'. Next, attach the blade.
Handle your blades carefully otherwise you will
bend the blade irons and cause your fan to
vibrate when in use. Finally attach the front side
of the cage with Atlas medallion oriented
correctly. Caution: The set screw in the blade
hub must be counter-sunk into the bore-hole on
the flattened side of the motor shaft - or else
the blades may disengage from the motor shaft
during operation.
10 C. Wooden Blades: If your fan is one with
wooden blades, attach your blades as the last
step in the assembly process. Do not attach
them now. Attach them in step No.: 13.
Handle your blades carefully otherwise you will
bend the blade irons and cause your fan to
vibrate when in use.
11. Now lift the motor assembly into position and
place the hanger ball into the hanger bracket.
Rotate down rod until the "Check Tab" has
dropped into the "Registration Slot" and the
down rod and ball assembly seat firmly. The
down rod and ball assembly should not rotate if
this is done correctly.
12. An additional safety support is provided to
prevent the fan from falling. Secure the safety
cable to the ceiling joist with screw and washer.
(Fig. 9)
13. Remove protective plastic sleeve from the
motor shaft and attach your wooden blades.
Ignore this step if you have metal blades, as
they should already have been installed. Make
sure that the set screw in the blade hub is
counter-sunk into the bore-hole in the motor
shaft - or else the blades may disengage from
the motor shaft during operation.
Screw
Safety cable
Registration
slot
5
Figure 9
