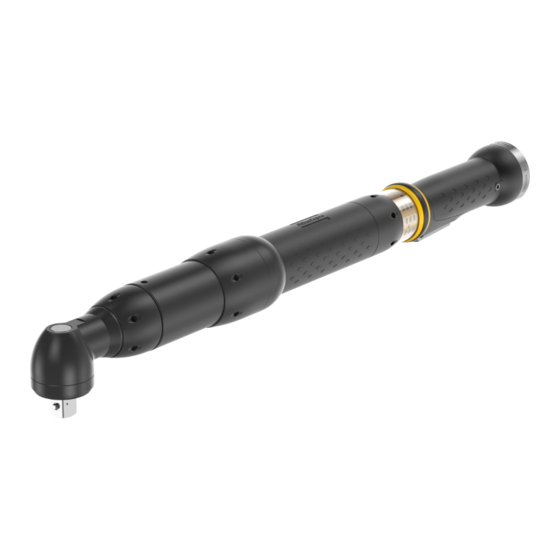
Atlas Copco ETV ST81-100-13-SH Product Instructions - Page 8
Browse online or download pdf Product Instructions for Power Tool Atlas Copco ETV ST81-100-13-SH. Atlas Copco ETV ST81-100-13-SH 16 pages. Electric angle nutrunner 20-100 nm

Installation
Fitting of the tool cable
■
Make sure that the tool cable is of correct type.
■
Align the cable connector using the two asymmetrically positioned heads on the connector to fit in the
slots in the tool handle.
■
Tighten the lock nut.
■
Make sure that the connection is correct by pulling, pushing and turning the cable connector (there
should be no movement).
The tool has a built in electronic memory chip that will transmit the torque transducer calibration value
and angle pulses to the POWER FOCUS/drive unit. Any changes made of these values in the
POWER FOCUS while the tool is connected will be stored in the tool memory.
Clamping the Tensor tool to a fixture
To clamp the tool to a fixture, only the areas marked grey on the figure can be used. However, be careful
not to damage the rubber coating when clamping the rubber handle.
NOTICE The white areas in the picture must not be used for fixturing.
8
EN
© Atlas Copco Industrial Technique AB - 9839 1860 01
ETV ST81-100-13-SH
