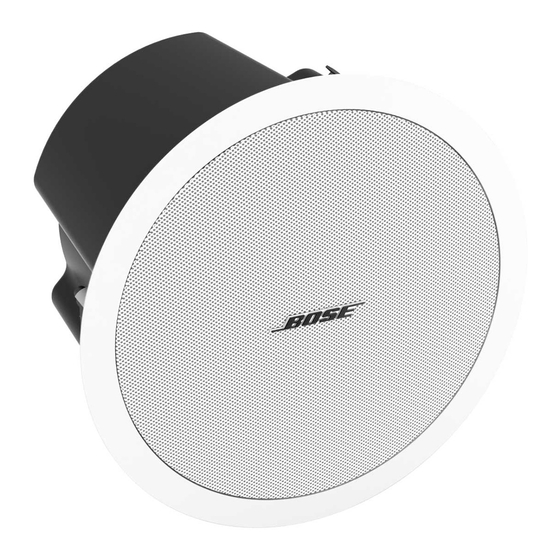
Bose FreeSpace DS 100SE Owner's Manual - Page 6
Browse online or download pdf Owner's Manual for Speakers Bose FreeSpace DS 100SE. Bose FreeSpace DS 100SE 32 pages. With ceiling mount bracket
Also for Bose FreeSpace DS 100SE: Installation Manual (17 pages), Technical Data Sheet (8 pages), Installation Manual (22 pages), Design Manual (4 pages), Service Manual (21 pages)

Removing End Cap and Accessing Tap Settings
Transformer tap setting
1. Position loudspeaker vertically with endcap closest to logo
facing up.
2. Pull forward on endcap to remove.
3. Set tap by turning the thumbwheel.
12.5W*
25W
NC**
25W*
50W
* Factory default
** NC: No Connection (do not use)
4. Press endcap into place — you should hear it click.
Note: If needed, you can remove the endcap and adjust the tap settings
after the loudspeaker is mounted.
Indstilling af transformerudtag
1. Placer højttaler lodret med endebolten tættest på logo,
der vender opad.
2. Træk fremad for at fjerne endebolten.
3. Indstil tap ved at dreje på tommelhjul.
12.5W*
25W
NC**
25W*
50W
* Fabriksstandard
** NC: Ingen forbindelse (undgå brug)
4. Tryk endebolten på plads - du skal høre et klik.
Bemærk: Hvis det er nødvendigt, kan du fjerne endebolten og justere
tappens indstillinger, når højttaleren er monteret.
6
70V
50W
100W
8Ω
100W
NC**
100V
70V
50W
100W
8Ω
100W
NC**
100V
Einstellung für Transformatorabgriff
1. Positionieren Sie die Lautsprecher vertikal, wobei die Blende,
die dem Logo am nächsten ist, nach oben weist.
2. Ziehen Sie die Blende nach vorn, um sie zu entfernen.
3. Stellen Sie den Abgriff durch Drehen der Einstellscheibe ein.
12.5W*
25W
NC**
25W*
50W
* Werkseitiger Standard ** NC: Keine Verbindung (nicht verwenden)
4. Drücken Sie die Blende wieder fest, bis sie einrastet.
Hinweis: Bei Bedarf können Sie die Blende entfernen und den Abgriff
nach der Montage des Lautsprechers ändern.
Ajuste de las derivaciones
del transformador
1. Coloque el altavoz en vertical con el casquillo terminal más
cercano al logotipo mirando hacia arriba.
2. Tire del casquillo terminal hacia delante para retirarlo.
3. Configure el terminal girando la ruedecilla.
12.5W*
25W
NC**
25W*
50W
* Ajuste de fábrica
** NC: Sin conexión (no utilizar)
4. Presione el casquillo terminal hasta que se ajuste en su sitio.
Deberá oírse un clic.
Nota: Si es necesario, puede retirar el casquillo terminal y ajustar la
configuración las derivaciones después de montar el altavoz.
70V
50W
100W
8Ω
100W
NC**
100V
70V
50W
100W
8Ω
100W
NC**
100V
