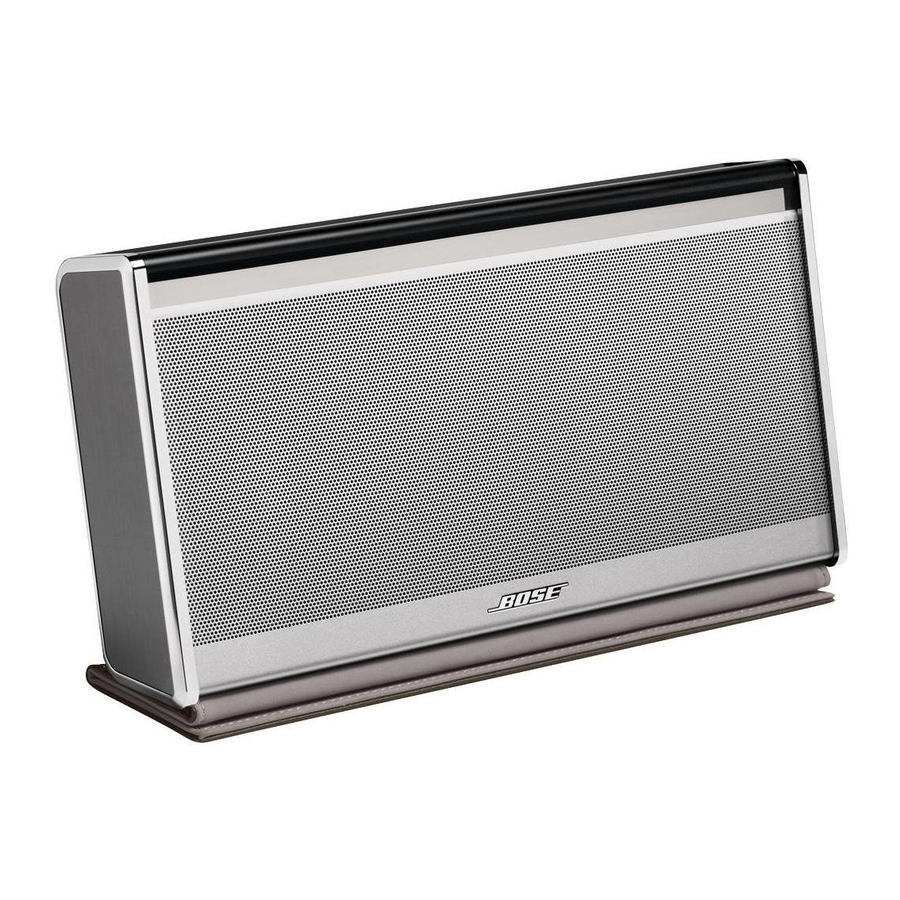
Bose SoundLink Wireless Music System Owner's Manual - Page 8

Browse online or download pdf Owner's Manual for Speakers Bose SoundLink Wireless Music System. Bose SoundLink Wireless Music System 24 pages. Car charger
Also for Bose SoundLink Wireless Music System: Owner's Manual (32 pages), Owner's Manual (21 pages), Quick Setup Manual (2 pages), Owner's Manual (24 pages), Replacement Manual (2 pages), Owner's Manual (15 pages), Owner's Manual (12 pages), Owner's Manual (24 pages), Owner's Manual (33 pages), Owner's Manual (24 pages), Owner's Manual (40 pages), Owner's Manual (22 pages), Owner's Manual (16 pages), Owner's Manual (18 pages), Quick Start Manual (2 pages), Owner's Manual (22 pages), Quick Start Manual (2 pages), Owner's Manual (16 pages), Owner's Manual (16 pages), Battery Changing Instructions (2 pages), User Manual (2 pages), Quick Start Manual (2 pages), Owner's Manual (19 pages), Owner's Manual (31 pages), How Do (5 pages), Instruction Manual (2 pages), (Spanish) Guía De Usuario (26 pages), (Japanese) Owner's Manual (3 pages)

Bose SoundLink Wireless Music System Owner's Manual
G
S
ETTING
TARTED

System setup

®
The SoundLink
Air system requires a connection to your Wi-Fi
AirPlay streamed audio. The following steps guide you through the preferred method for
setting up your system.
Note:
For another setup method, see "Alternate setup method" on page 15.
What you need:
Remote control
USB cable
1. Open a browser on your computer and go to http://www.Bose.com/wifisetup
• For convenience, the URL is written on the product label located on the bottom of
the system.
• Make sure the SoundLink Air is connected to power before you continue.
2. Follow the online instructions to download and run the Wi-Fi Setup Application.
Note:
After starting the setup application, you may be asked to install a software driver. Make sure you
do this before connecting the SoundLink Air system to your computer.
Note:
Do not remove power from the SoundLink Air system while downloading and running the Wi-Fi
setup application.
3. When prompted by the following image, connect the system to your computer using
the supplied USB cable.
8 – English
®
network to receive