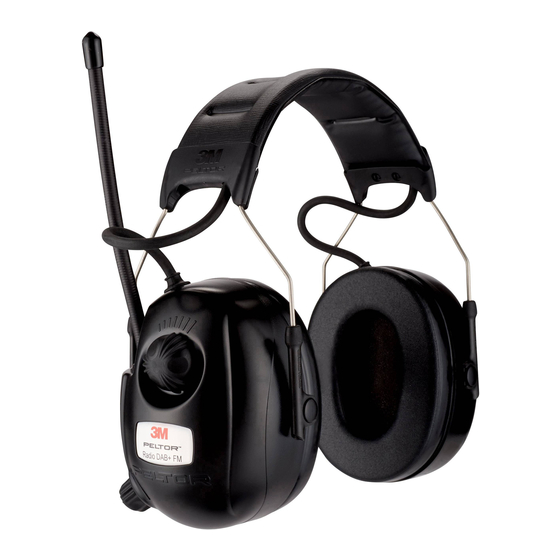
3M PELTOR HRXD7P3E-01 Instructions For Use Manual - Page 9
Browse online or download pdf Instructions For Use Manual for Headsets 3M PELTOR HRXD7P3E-01. 3M PELTOR HRXD7P3E-01 19 pages. Radio dab+ fm headset

GB
OPERATING INSTRUCTIONS
Replacing the batteries (fig 1)
Unscrew and open the battery cover. Insert the two LR6
1.5 V batteries that are supplied. Make sure the battery
polarity is correct (+ and –).
NOTE! Do not mix old and new batteries.
Do not mix alkaline, standard or rechargeable batteries.
NOTE!
Low battery warning will not function for rechargeable
batteries.
Powering the unit on and off (fig 2)
Power on
Long press (2 s) the volume knob voice message:
"DAB Radio" or "FM Radio".
Power off
Long press (2 s) the volume knob voice message:
"Power off".
NOTE! Unit is automatically powered off after four hours.
Voice message: "Automatic power off". To extend the on time
for a further four hours, press or turn the channel selector.
DID YOU KNOW! The hearing protector automatically begins
DAB scanning when you switch it on for the first time, or after
resetting to factory defaults. A DAB scan can take up to three
minutes. If no DAB channels are found during the DAB scan,
the unit switches automatically to FM mode and searches for
the nearest channel.
Adjusting the volume (fig 3)
Turn the volume knob clockwise to increase the volume, or
counterclockwise to reduce the volume.
NOTE! If you connect an external source, just power on the
hearing protector and turn the volume to the lowest setting.
Use the external device to adjust the volume.
Changing channel – DAB and FM radio (fig 4)
Short press (1 s) channel knob voice message: "Search".
Turn the channel knob to the right or left to step through the
channel/frequency list.
Saving favourites – DAB and FM radio (fig 5)
Long press (2 s) the channel knob to save the current
channel. Voice message: "Station stored"
DID YOU KNOW! You can save up to 10 DAB channels and
5 FM channels.
Playing favourites – DAB and FM radio (fig 6)
Short press (1 s) the channel knob twice to go to saved
favourites. Voice message: "Favourites".
Turn the channel knob to the right or left to select the saved
channel.
NOTE! To listen to both your DAB and FM favourites you
need to switch between DAB and FM wavebands. See
"Switching between FM and DAB radio".
Switching between FM and DAB radio (fig 7)
Short press (1 s) the channel knob three times
voice message: "Radio mode". Turn the channel knob right
3
1 FP3828 revA_8-sidigt omslag_A5.indd 3
or left to switch between FM and DAB radio – voice message:
"Switching to FM" or "Switching to DAB".
Sub-menu (fig 8)
1. Switch on the unit.
2. Long press (2 s) the channel knob and the volume knob
simultaneously – voice message: "Sub-menu".
Options available from sub-menu:
• DAB Scan (only in DAB mode).
• Reset to factory defaults.
DID YOU KNOW! After 10 seconds the unit switches
automatically from the sub-menu to the main menu.
A beep indicates that you have left the sub-menu.
DAB scanning (only in DAB mode) (fig 9)
Enter the sub-menu, (see "Sub-menu" section)
Short press (1 s) channel knob once to go to DAB scanning -
voice message: "DAB scan".
Turn the channel knob right or left to start DAB scanning
– Voice message: "Scanning DAB. Please wait". Voice
message when scanning is complete. "Scanning complete,
XX channels found".
NOTE! A scan can take up to three minutes.
Resetting to factory defaults (fig 10)
Enter the sub-menu, (see "Sub-menu" section).
Press the channel knob briefly twice in DAB mode or once in
FM mode to go to factory defaults – voice message:
"Reset to factory defaults"
Turn the channel knob right or left to reset to the default
settings – voice message:
"Reset to factory defaults. Please wait".
After a complete reset the hearing protector switches itself off.
Next time you switch it on the unit will carry out a DAB scan.
NOTE! Resetting to factory defaults deletes all settings and
saved channels.
TROUBLESHOOTING
FM and DAB reception
Check that the batteries are new or fully charged.
The quality of radio reception may vary depending on the
topography or the your environment you are in.
If reception is poor, try moving to a different area if
possible.
CLEANING AND MAINTENANCE
Use a cloth wetted with soap and warm water to clean the
outer shells, headband and ear cushions.
NOTE: Do NOT immerse the hearing protector in water.
If the hearing protector gets wet from rain or sweat, turn the
earmuffs outwards, remove the ear cushions and foam liners,
and allow to dry 24h before reassembly. The ear cushions
and foam liners may deteriorate with use and should be
examined at regular intervals for cracking or other damage.
When used regularly, 3M recommends replacing the foam
liners and ear cushions at least twice a year to maintain
2017-02-08 11:39:46
