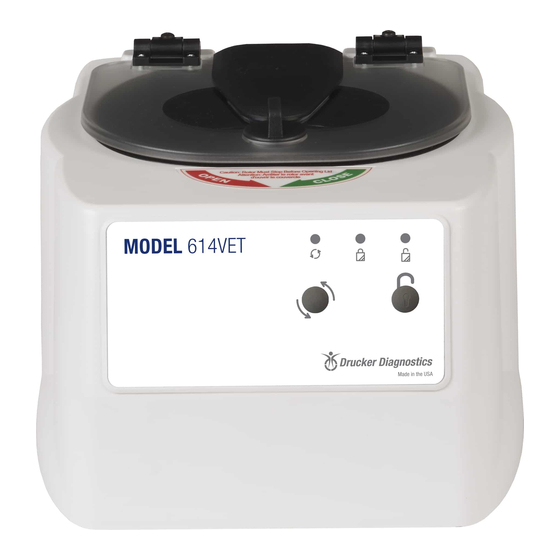
Drucker Diagnostics 614VET Operator's Manual - Page 8
Browse online or download pdf Operator's Manual for Laboratory Equipment Drucker Diagnostics 614VET. Drucker Diagnostics 614VET 16 pages.

V
T
ERIFYING
NOTE: Your centrifuge must be plugged in.
a.
Push the 'OPEN/STOP' button to disengage the lock and then
open the lid.
b. Push and hold the 'START' button for approximately three (3)
seconds. The Yellow 'LATCHED' indicator light will begin to flash,
indicating program mode.
c.
When you release the 'START' button, the 'RUNNING' indicator
light will begin to flash. Each flash represents one minute of run
time.
d. Press the 'START' button to verify the brake setting. When you
release the 'START' button, the 'RUNNING' indicator light will
begin to flash. Each flash represents the brake setting, from 1 to
10.
C
T
HANGING
NOTE: Your centrifuge must be plugged in.
a.
Push the 'OPEN/STOP' button to disengage the lock and then
open the lid.
b. Push and hold the 'START' and 'OPEN' buttons for approximately
three (3) seconds. The yellow 'LATCHED' indicator light will begin
to flash slowly, indicating that you can now program run time.
c.
Press 'START' one time for each minute of run time desired, from
a minimum of 1 minute to a maximum of 30 minutes. The green
'START' indicator light will flash each time you press the 'START'
button.
d. Press 'OPEN' to enter the run time. You will now begin to adjust
the brake setting.
e.
Press 'START' to adjust the brake setting, from a minimum of 1 to
a maximum of 10. The green 'START' indicator light will flash
each time you press the start button.
f.
When you are finished, press the 'OPEN' button to exit. Use the
above procedure to verify the run time and brake setting change.
Drucker Diagnostics +1-814-692-7661 - [email protected] Page | 8
P
T
HE
RESET
P
T
HE
RESET
IME
IME
