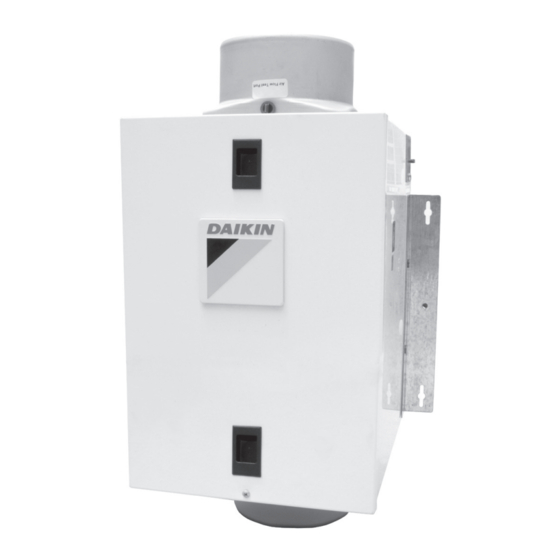
Daikin ONE Installation & Operation Manual - Page 4
Browse online or download pdf Installation & Operation Manual for Fan Daikin ONE. Daikin ONE 8 pages. Powered

Installation
Stud/Joist
Screws
Figure 1 - Surface mounting of ventilator
Ducting the Ventilator
NOTE: 6" diameter or larger rigid duct is recommended for
best performance.
i
CAUTION!
All ducting must comply with local and national building codes.
i
CAUTION!
The ducting from this ventilator to the outside of the building
has a significant effect on the airflow, noise and energy
consumption of the ventilator. Use the shortest, straightest
duct routing possible between the ventilator and the home's
exterior for best performance, and avoid installing the
ventilator with smaller diameter ducts than recommended.
Insulation around the ducts can reduce energy loss and help
inhibit mold growth. Ventilators installed with existing ducts
may not achieve their rated airflow.
i
CAUTION
Make sure the outdoor air intake port complies with all local
and national codes and is located at least 6 feet away from
sources of contamination such as but not limited to: clothes
dryer exhaust, furnace or central vacuum exhausts, gas appli-
ances such as BBQ grills, garbage bins or other exhaust ports.
Note: To ensure quiet operation of this ventilator, the
ducting shall be installed using sound attenuation techniques
appropriate for the installation. For bathroom and general
ventilation applications, at least 8 feet of insulated flexible
duct shall be installed between the exhaust or supply grille(s)
and the ventilator.
1. Connect ducting to the ventilator's intake and outlet duct
collars (Figure 4), sealing the joints with appropriately
rated tape. Use screws or suitable clamps to secure in
place. Make sure the outdoor air intake is connected to
an intake port fitted with a suitable Air Intake Hood with
insect screen to protect air intake. It is recommended that
low restriction termination fittings be used.
2. To reduce the potential for condensation buildup within
the duct, seal duct joints and exterior penetrations with
mastic, caulk or other appropriate material to create an
air-tight path to and from the ventilator.
3. To reduce the potential for building heat loss or gain and to
reduce the potential for condensation, wrap insulation
around duct and/or ventilator.
4
Anchors
Figure 2 - Mounting ventilator to a joist
NOTE: At the base of the intake duct collar, there is a small test port
hole covered with a red plastic cap. Make sure the test port is not
covered up by the ducting or insulation and can be accessed for
flowrate measurement. To access the port, remove the red, plastic
port cover and insert pitot tube to measure flowrate.
Figure 3 - Mounting ventilator using hanging rods
www.daikincomfort.com
11½"
Bracket
Joist
2 x 4 Header
Threaded Rod
Housing
Bracket
Outlet
Ducting
Intake
Ducting
Figure 4 - Connecting ducting to the ventilator
Bracket
Bracket
IO-DPV
