DS18 NXL-X10TPNEO Owner's Manual - Page 8
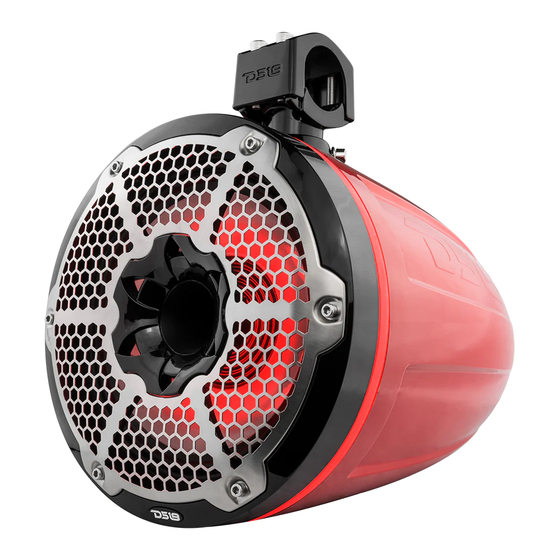
Browse online or download pdf Owner's Manual for Speakers DS18 NXL-X10TPNEO. DS18 NXL-X10TPNEO 13 pages. 10" marine tower neodymium speaker with bullet tweeter & passive radiator

INSTALLATION / INSTALACIÓN
BEGINNING MOUNTING
Step 1: Remove tower speakers from the
packaging and ALL hardware.
Step 2: Find a GOOD location that allows for easy
wiring of the speaker (and LED lights) -PLUS does
NOT impair your movement around the location.
Step 3: Using the supplied 6mm hex wrench spin
out the 4-M8 screw that holds the top clamp
Step 4: Drill 015 - 020 mm hole on mounting tube
bottom align the clamp wire out hole.
Step 5: Connect the speaker wire AMP out and
LED controller, Insulated lock the clamp to the
tube.
Step 6: Cut the length of the rubber pad and wires
outlet according to the diameter of the
installation pipe.
3.0"
2.75"
2.5"
2.25"
2.0"
1.75"
1.5"
1.25"
1.0"
RUBER PAD FOR TUBE
Step 6
Paso 6
7
304 M8 Blot with
Spring Stop
Washer
304 pernos M8 con
arandela de tope
de resorte
Step 3
Paso 3
Step 5
Paso 5
Soldadura, tubo termorretráctil
Speaker Wires
Cables de Altavoz
COMENZANDO EL MONTAJE
Paso 1: Retire los altavoces de torre del embalaje y TODO
el hardware.
Paso 2: Encuentre una BUENA ubicación que permita el
cableado fácil del altavoz (y las luces LED) - ADEMÁS
QUE NO perjudique su movimiento alrededor de la
ubicación.
Paso 3: Con la llave hexagonal de 6 mm suministrada,
gire el tornillo 4-M8 que sujeta la abrazadera superior.
Paso 4: Perfore un orificio de 15ø - 20ø mm en la parte
inferior del tubo de montaje y alinee el orificio de salida
del cable de la abrazadera.
Paso 5: Conecte el cable de salida AMP del altavoz y el
controlador LED, trabe la abrazadera aislada al tubo.
Paso 6: Corte la longitud de la almohadilla de goma y la
salida de los cables de acuerdo con el diámetro de la
tubería de instalación.
6 Core Wires
6 hilos de núcleo
Soldering, Heat shrink
6 mm Hex
Wrench
Llave
hexagonal
de 6 mm
Step 4
Paso 4
