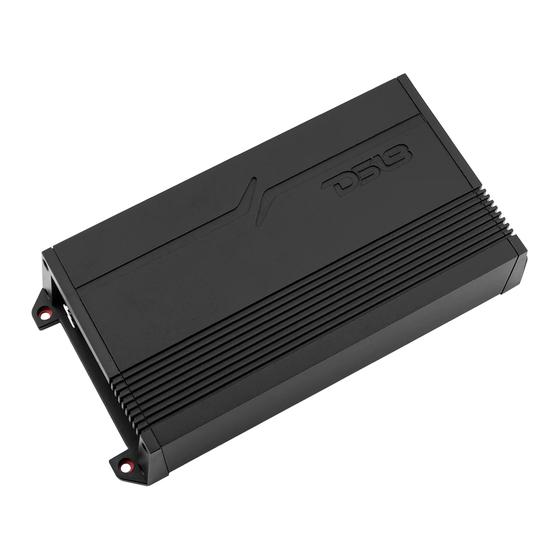
DS18 GEN-X G1800.1D Owner's Manual - Page 4
Browse online or download pdf Owner's Manual for Amplifier DS18 GEN-X G1800.1D. DS18 GEN-X G1800.1D 13 pages. Class d car audio amplifiers
Also for DS18 GEN-X G1800.1D: Owner's Manual (19 pages)

REMOTE LEVEL CONTROL /
CONTROL DE NIVEL REMOTO
CLIP
1
1. CLIP: LED indicator for output clipping monitor
on the remote Level knob, if you see the light
blinking turn it down the Gain.
2. GAIN: adjust the output level.
3. PRO/PWR: Green light= Power ON, Red light=
Protection mode.
SETTING THE GAINS /
ESTABLECIENDO LAS GANANCIAS
It is a fact that very few people, including
professional installers, know how to set gains
correctly. Failure to do so yields higher
distortion, a higher noise floor which decreases
dynamic
headroom,
less
than
optimum
operating conditions for electronic equipment,
and a higher failure rate for both the electronic
equipment and transducers alike.
While most people set this control by ear to how
loud they want their music, this is not the intent
of this control. The range is from 0. 25 volts to 6
volts. The control is meant for matching the
output of the source unit's signal voltage. For
example, if you have a source unit with low
output voltage, you would probably have the
control set fairly high, towards the O. 25V range.
A lot of head units have 4 volts of output signal
voltage which means that your control would be
set midway through the range. If you happen to
have a line driver (signal booster) that yields 6
volts or more, you will set the gain at the
minimum position, towards the 6V range.
In all these examples, when properly level
matched, the amplifier will put out the full
volume. Setting the control above the improper
point may cause damage to the amplifier and
speakers and can result in poor sound quality
and overall undesirable results.
5
GAIN
PRO/PWR
3
6V
0.25V
2
1. Indicador LED para el monitor de recorte de salida
en la perilla de nivel remota, si ve que la luz
parpadea, baje la ganancia.
2. Ajusta el nivel de salida.
3. Luz verde = encendido, luz roja = modo de
protección.
Es un hecho que muy pocas personas, incluidos los
instaladores profesionales, saben cómo ajustar las
ganancias correctamente. Si no lo hace, se produce
una mayor distorsión, un piso de ruido más alto que
disminuye el margen dinámico, condiciones de
funcionamiento inferiores a las óptimas para los
equipos electrónicos y una mayor tasa de fallas tanto
para los equipos electrónicos como para los
transductores.
Si bien la mayoría de las personas configuran este
control de oído según el volumen que desean que
suene su música, esta no es la intención de este
control. El rango es de 0,25 voltios a 6 voltios. El
control está diseñado para igualar la salida del voltaje
de señal de la unidad fuente. Por ejemplo, si tiene una
unidad fuente con un voltaje de salida bajo,
probablemente
tenga
el
control
bastante alto, hacia el rango de 0.25V. Muchas
unidades principales tienen 4 voltios del rango. Si
tiene un controlador de línea (amplificador de señal)
que produce 6 voltios o más, establecerá la ganancia
en la posición mínima, hacia el rango de 6V.
En todos estos ejemplos, cuando el nivel coincide
correctamente, el amplificador emitirá el volumen
máximo. Establecer el control por encima del punto
incorrecto puede dañar el amplificador y los
altavoces y puede resultar en una mala calidad de
sonido y resultados no deseados en general.
BASS BOOST CONTROL /
The monoblock amplifiers feature a variable
bass boost control centered at 45Hz.
You can adjust the amount of boost from
OdBto 12dB.
RESPUESTA DE FRECUENCIA CON REFUERZO DE GRAVES ACTIVADO
MOUNTING YOUR AMPLIFIER /
Choosing the best mounting location for your
amplifier is crucial. The amplifier should not be
configurado
mounted to any wood, metal, or carpeted
surface. The heatsink can be mounted directly
to the chassis of the car, or isolated for best
performance. It needs proper ventilation, so
avoid mounting the amp under seats, in the
engine bay, or in any other area where moisture
might accumulate. Be sure the mounting
screws do not penetrate the fuel tank, brake
lines, or any other crucial fluid lines.
Never mount the amplifier to a subwoofer
enclosure, as excessive vibrations can cause
damage.
CONTROL DE REFUERZO DE GRAVES
Los amplificadores monobloque cuentan con un
control de refuerzo de graves variable centrado en
45Hz. Puede ajustar la cantidad de impulso de 0db
a 12db.
FREQUENCY RESPONSE WITH BASS BOOST ON
Frequency (Hz)
Frecuencia (Hz)
MONTAJE DE SU AMPLIFICADOR
Elegir la mejor ubicación de montaje para su
amplificador es crucial. El amplificador no debe
montarse en ninguna superficie de madera, metal o
alfombra. El disipador de calor puede montarse
directamente en el chasis del automóvil o aislarse
para obtener el mejor rendimiento. Necesita una
ventilación adecuada, así que evite montar el
amplificador debajo de los asientos, en el
compartimiento del motor o en cualquier otra área
donde se pueda acumular humedad. Asegúrese de
que los tornillos de montaje no penetren en el tanque
de combustible, las líneas de freno o cualquier otra
línea de fluido crucial.
Nunca monte el amplificador en una caja de
subwoofer, ya que las vibraciones excesivas pueden
causar daños.
6
