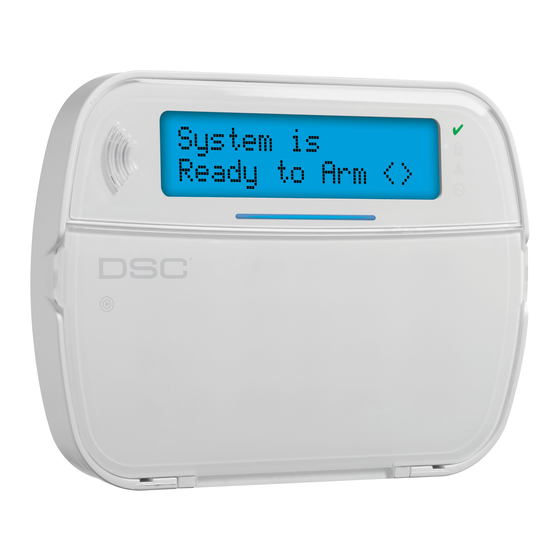
DSC HS2LCDWF v1.0 Installation Instructions Manual - Page 3
Browse online or download pdf Installation Instructions Manual for Keypad DSC HS2LCDWF v1.0. DSC HS2LCDWF v1.0 9 pages. Wireless keypad

CAUTION: Do not mix old batteries with new ones.
Mounting
Holes
Mounting
Holes
Apply AC Power
1. Slide the keypad up and out from the mounting
plate / desk stand.
2. Locate the power adaptor jack at the back of the
keypad housing.
3. Place the adaptor plug in the housing indentation,
perpendicular to the keypad. Insert the adaptor
plug firmly into the jack.
4. Pivot the adaptor plug downwards so that it fits
flush with the housing. Guide the AC wire along
the channel provided in the keypad housing; the
wire will extend through the bottom of the hous-
ing.
5. Replace the keypad on the mounting plate/desk
stand (in the latter case, a further channel is pro-
vided in the bottom of the desk stand. Guide the
AC wire along this channel; the wire will extend
through an opening in the back of the stand).
6. Plug the adaptor into a wall outlet.
NOTE: Only use the power adaptor (4.5VDC, 0.5A, 2.25W,
limited power supply model XX) supplied with the kit.
CAUTION: The socket-outlet in which the direct plug-in
adaptor is inserted must be close to the keypad, easily
accessible, and have unobstructed access. The plug of the
adaptor serves as a means of disconnection from the sup-
ply mains.
Programming the Keypad
There are several programming options available for
the keypad (see below). Programming the keypad is
similar to programming the rest of the system. To
turn an option on/off, press the number correspond-
ing to the option on the number pad. The numbers of
the options that are currently turned on will be dis-
played along the top of the LCD. For information on
programming the rest of your security system, please
refer to your system's Installation Manual.
Language Programming
To enter language programming, enter programming sec-
tion [000] then subsection [000]. Then enter the two-digit
number that corresponds to the language desired:
01 = English (default)
02 = Spanish
Plug
03 = Portuguese
04 = French
Wire
channel
05 = Italian
06 = Dutch
07 = Polish
08 = Czech
09 = Finnish
10 = German
11 = Swedish
12 = Norwegian
13 = Danish
14 = Hebrew
15 = Greek
Enrolling the Keypad
The HSM2HOST wireless transceiver must be
enrolled onto the alarm panel before any wireless
devices can be enrolled.
When the alarm system is powered up for the first
time, the first keypad or the HSM2HOST (if using a
wireless keypad as the first keypad) can be enrolled.
To do this:
1. Once the HSM2HOST is wired to the alarm panel
and power has been applied, power up a wireless
keypad.
2. Press any button on the keypad to enroll it on the
HSM2HOST. The HSM2HOST is then automatically
enrolled on the alarm panel.
Enrolling Keypad
1. Enter [,][8][Installer Code] and then section
[804] > 000.
2. When prompted, either activate the device to
enroll immediately or enter a device serial num-
ber. Do the latter to pre-enroll devices then enroll
them later at the customer site.
3. Use the scroll keys or type in the corresponding
number to select an option.
4. Scroll through the available selections, key in a
number or enter text as appropriate.
5. Press [*] to accept and move to the next option.
6. Once all options are configured, the system
prompts to enroll the next device.
7. Repeat the process described above until all wire-
less devices are enrolled.
Deleting Keypad
1. Enter [,][8][Installer Code] and then section
[804] > 905.
16 = Turkish
2. Use the scroll keys to select the keypad or press
17 = FFU
[#] to exit.
18 = Croatian
3. Select [*] to delete. The screen will read "Keypad
19 = Hungarian
deleted".
20 = Romanian
Disassemble Keypad
21 = Russian
22 = Bulgarian
1. Insert the tip of a flat-head screwdriver into the
23 = Latvian
slot at the bottom left section of the keypad.
24 = Lithuanian
2. Gently lower the handle of the screwdriver, open-
25 = Ukrainian
ing the left side of the unit's faceplate.
26 = Slovakian
3. Repeat steps 1 and 2 using the slot at the bottom-
27 = Serbian
right section of the unit. This will remove the
28 = Estonian
unit's faceplate and allow access for mounting.
29 = Slovenian
Applying Battery Power
1. Slide the keypad up and out from the mounting
plate/desk stand (removing the screws first if
required). The bay for the four AA batteries is
open and visible at the back of the keypad.
2. Insert the batteries as directed on the back of the
keypad. Ensure the correct polarity is observed.
3. Replace the keypad on the mounting plate/desk
stand.
CAUTION: Do not mix old batteries with new ones.
Apply AC Power
1. Slide the keypad up and out from the mounting
plate/desk stand.
2. Locate the power adaptor jack at the back of the
keypad housing.
