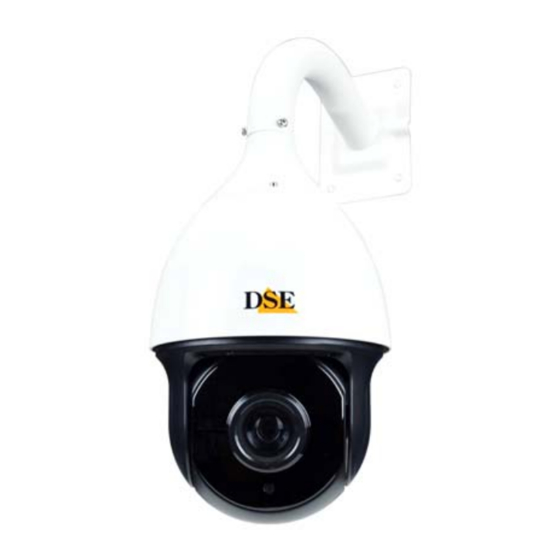
DSE SD-5 Series User Manual - Page 8
Browse online or download pdf User Manual for Digital Camera DSE SD-5 Series. DSE SD-5 Series 15 pages.

USER MANUAL
SPEED DOME CAMERAS SD-xxx-5
Page:8
BASIC OPERATIONS
Once the camera has been correctly installed and at
least one control unit (keyboard or DVR) has been set
up, it is possible to test the first operating commands.
Below we list the main commands through which it is
possible to control the speed dome cameras.
Power on and self test
Powering the camera starts a sequence of automatic
operations.
The
camera
movements and checks the operation of the horizontal
movement, the vertical movement and the camera
body.
The communication data of the camera is shown as an
overlay.
At the end of the automatic test, the camera is ready to
receive the commands coming from the console.
Manual Pan Tilt control
The first command to check correct communication
between the camera and the console is the RIGHT /
LEFT (PAN) and UP / DOWN (TILT) movement using the
console joystick.
If the camera does not react to console commands, it
means
that
something
communication. Check in the order:
1 - That the two twisted cables leading the RS485 are
connected and not inverted (A with A and B with B).
2 - That the console or the DVR has been set up with
the PELCO D protocol and that the speed chosen is the
same as that set in the camera (2400 at the factory)
3 - That the address of the camera to be controlled has
been selected on the console or DVR (1 in the factory).
It is possible to check the address and protocol speed
directly on the camera
Manual ZOOM control
performs
a
series
of
is
incorrect
in
the
WWW.DSE.EU
The cameras are equipped with optical zoom. To
control the zoom, it is possible to use the ZOOM +/- (or
TELE / WIDE, depending on the console) keyboard
buttons. If you are using a so-called 3D console it is
also possible to control the zoom by rotating the
joystick head.
If necessary, you can change the focus by pressing the
FOCUS +/- buttons (or NEAR / FAR depending on the
console), but it is generally more practical to allow the
camera to use the autofocus function. The IRIS +/-
aperture commands are generally not allowed by the
factory settings of the cameras.
PRESET setting
The cameras are able to memorize predefined positions
that can be quickly recalled without having to manually
operate the joystick.
Each camera is able to manage 256 PRESETS, each one
distinguished by its own XY, ZOOM and FOCUS
coordinate value.
In reality, not all of these presets are available to the
user to be customized as some have predefined
features that we will see later and which are called
SYSTEM PRESETS.
To set a preset act as follows:
Select the camera to control
Using the Joystick, position the camera in the
preferred point and adjust the zoom
On the keyboard, dial the number of the preset to
be set, for example: 1 and send the SET PRESET
command (see console manual)
The camera stores the preposition.
Each
control
unit
uses
sequences. Consult the documentation attached to the
control unit to know the exact sequence to be dialed.
Recalling PRESETS
After having memorized the presets of interest, they
can be easily recalled from the keyboard by acting as
follows:
Check if you have selected the camera
Dial the PRESET number
Press the PRESET recall button, usually CALL or
PREVIEW or GO TO depending on the consoles.
The camera moves automatically until it reaches the
stored position.
Each
control
unit
uses
sequences. Consult the documentation attached to the
control unit to know the exact sequence to be dialed.
Automatic movements
different
wordings
and
different
wordings
and
