DSK Aluminio Light Manual - Page 4
Browse online or download pdf Manual for Indoor Furnishing DSK Aluminio Light. DSK Aluminio Light 4 pages.
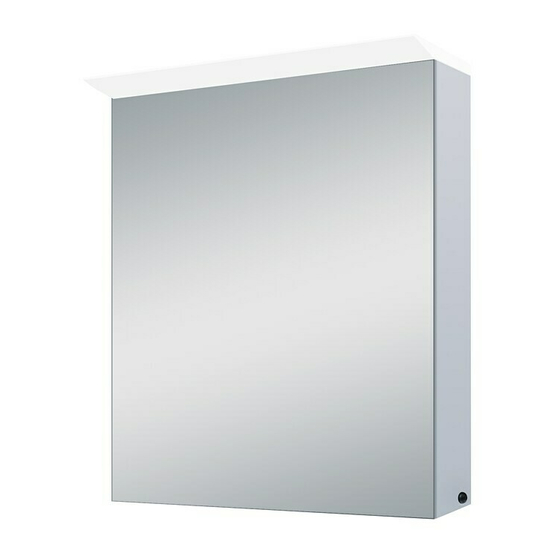
Aluminio Light
If the mirror does not work properly, first check if you can fix the problem by yourself.
Problem
Material defects - scratches or inclusions in the
glass.
The lighting works, but the integrated socket
doesn´t work.
The socket works, but the lighting doesn´t work.
The lighting and the socket don´t work.
The door does not close / the gap is uneven
In case the provided information does not lead to success, please contact our customer service.
Troubleshooting
Do not try to repair an electrical defect by yourself!
The electrical connection or work on the electronics of the mirror should only be
carried out by a qualified electrician. Before installation or working on the electronics
of the mirror it must be ensured, that the electrical network is switched off (switch off
the main switch or fuse).
Solutions and tips
- During the production of the mirror, production
and adhesive residues can deposit on the glass
or on the mirror edges, which at first glance
resemble a material defect. These can be
removed with a fingernail or some methylated
spirits and a soft cloth.
- Press the toggle switch located inside the mirror
cabinet next to the socket.
- Press the push button switch on the right outside
of the mirror cabinet.
- Switch off the main fuse and check that the mirror
is correctly connected to the electrical network.
- Check that contacts fit tightly in the luster
terminal.
- Switch on the main fuse of your power supply.
Requirements:
-
The mirror cabinet has to be mounted exactly
vertically at the wall
-
The original wall mounts must be used (the
frame is exactly vertical)
Carrying out:
-
Open the door up to 90°
-
Turn the rear screw of the upper hinge - the
door almost has to touch the frame
-
turn the rear screw of the lower hinge - pull
the door close to the frame until a uniform
gap of approx. 10mm has been created on
the left side (with the door closed, measured
from the frame to the mirror door center)
-
Turn the front screw of the upper hinge until
the left edge of the door is flush with the
aluminum frame when the door is closed
-
Turn the front screw of the lower hinge until
all edges are parallel to the frame when the
door is closed
Seite 4