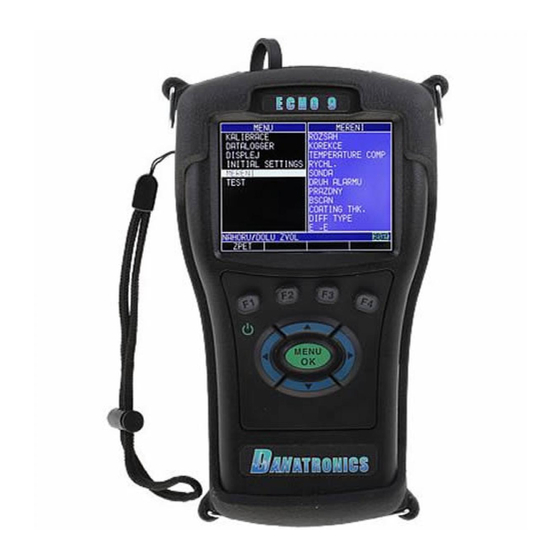
Danatronics ECHO 9 Series Quick Start Manual - Page 3
Browse online or download pdf Quick Start Manual for Test Equipment Danatronics ECHO 9 Series. Danatronics ECHO 9 Series 5 pages. Dataxl mobile
Also for Danatronics ECHO 9 Series: Manual (4 pages)

While in the Transducer selection screen, go to the transducer option that matches the part
number on your actual transducer by pressing up or down arrow keys. If you are using a non-
listed vendor transducer at 5.0 MHz, select the 'User 5 MHz' option. Lastly, press the MENU/OK
key to select the highlighted transducer.
To continue the Auto Zero, follow the instructions given on each display screen; the first of which
will prompt you to wipe off any couplant from the transducer and wait three seconds. The waiting
time is shown in the changing pie-clock graphic.
After three seconds, the gage automatically begins to zero the transducer
A warning message will appear on the display screen if the Delay Line is below the acceptable
limit for accurate thickness measurements. You will need to replace the transducer or select the
F1 key to acknowledge the warning message and continue using the same transducer, which
may have a worn surface.
After three seconds, or after acknowledging the warning message, the display shows the
instrument parameters for three seconds before going to Measurement mode.
4. Calibrating the Gage
Calibrating is the process of adjusting the gage for a specific material and transducer before
testing the material to make sure that all measurements are accurate. You must always calibrate
before measuring material for standard accuracy. The following steps show how to perform
velocity cal, zero cal, velocity and zero cal, and delay-line cal. A test step block of known
thicknesses is required to perform an accurate calibration.
a.
Velocity Calibration Only
To perform any calibration, press the F1 – Menu key and use the arrow keys to select the
Calibration option. Press the MENU/OK key. Verify your transducer selection and press the
MENU/OK key. (To exit without performing any calibration, press the MENU/OK key again.)
To perform a velocity calibration, place couplant on the surface of a 5-step test block.
Couple the transducer to the material. A similar screen to the one shown below will appear:
While measuring the thickest step, select F3 - VEL key. After pressing the F3 key, you can
take the transducer off the test block. If the displayed measurement is different than the
Ver: 1.1B
Cal screen for datalogger version
3
