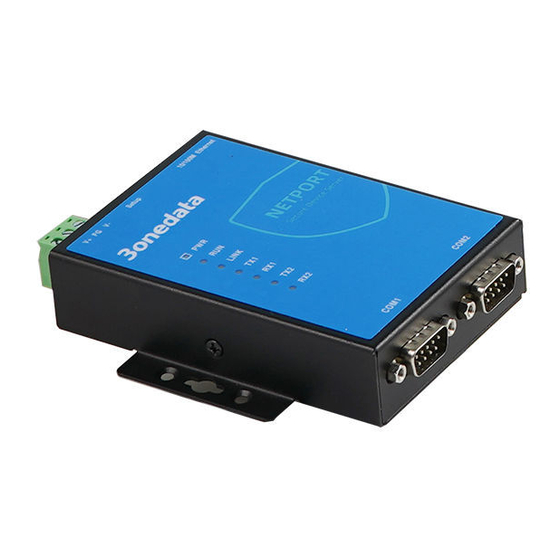
3onedata NP5000-2T-4DI(3IN1)-RJ-P Quick Installation Manual - Page 3
Browse online or download pdf Quick Installation Manual for Server 3onedata NP5000-2T-4DI(3IN1)-RJ-P. 3onedata NP5000-2T-4DI(3IN1)-RJ-P 4 pages. Serial server

the wall for reference or refer to the mounting
dimension to mark two screw positions.
Step 3
Nail M4 screws on the wall and keep 2mm
interspace reserved.
Step 4
Hang the device on two screws and slide
downward, then tighten the screw to enhance
stability, mounting ends.
【Wall-mounted Device Disassembling】
Step 1
Device power off.
Step 2
Unscrew the screw on the wall about 2mm.
Step 3
Lift the device upward slightly; take out the device,
disassembling ends.
Notice before power on:
Power ON operation: First insert the power supply
terminal block into the device power supply interface,
and then plug the power supply plug contact and power
on.
Power OFF operation: first unpin the power plug, then
remove the power line, please note the operation order
above.
【Power Supply Connection】
Model I, Model II
This device provides 1 DC power supply input
which is 3-pin 5.08mm pitch terminal block, the
power supply supports non-polarity and
anti-reverse connection. Power supply range: 12-48VDC. The
pin definitions of the terminals are shown as follows:
PIN
1
2
Definition
V+
FG
Model III, Model IV
The model III and model IV of this series provide 1
DC power supply input terminal blocks that adopts , in which
V+ and V- are DC input, FG is the power grounding input; The
power supply supports non-polarity, power supply range: 12~
48VDC.
【Reset Button Setting】
This series device provides 1 reset button, press the button for
4-5S then release it to restore factory defaults.
【Serial Port Connection】
RS-485/422/232 DB9 serial port
The model I and model II of this series
provide 1/2 3IN1 DB9 serial port, which
supports RS-232, RS-485 and RS-422 at
the same time. The interface type is DB9 male and its pin
definitions are as follows:
PIN
RS-232
1
-
2
RXD
3
TXD
4
DTR
5
GND
6
DSR
7
RTS
8
CTS
9
-
RS-485/422/232 RJ45 serial port
The model III and model IV of this series
provide 4/8 3IN1 RJ45 serial port, which
supports RS-232, RS-485 and RS-422 at the
same time. The interface type is RJ45 and its pin definitions
are as follows:
PIN
1
2
RS-232 DSR RTS GND TXD RXD DCD CTS DTR
3
RS-485 —
—
V-
RS-422 —
R-
【Console Port Connection】
RS-422
RS-485
T+
D+
T-
D-
R+
-
R-
-
GND
GND
-
-
-
-
-
-
-
-
3
4
5
6
7
8
GND —
—
D-
—
D+
GND R+
—
T-
—
T+
The Model III and Model IV provide 1 program
debugging port based on RS232 serial port
1
8
which can conduct device CLI command line
management after connected to PC. The
interface adopts RJ45 port, the RJ45 pin definition as follows:
Pin No.
2
3
Pin Definition
TXD
RXD
【Checking LED Indicator】
The device provides LED indicators to monitor the device
working status with a comprehensive simplified
troubleshooting; the detailed status of each LED is described
in the table as below:
LED
Indicate
Description
PWR is connected and running
ON
normally
PWR
PWR is disconnected and
OFF
running abnormally
The system is running normally
Blinking
The system is not running or
RUN
OFF
running abnormally
System is running abnormally
ON
Copper port has established an
ON
active network connection.
Copper port is in a network
Blinking
LINK(1-2)
activity state.
Copper port has not
OFF
established an active network
connection
Serial port is not transmitting
OFF
data or transmitting data
TX(1-2/4/8)
abnormally
Blinking
Serial port is transmitting data.
Serial port is not receiving data
OFF
or receiving data abnormally
RX(1-2/4/8)
Blinking
Serial port is receiving data.
【Logging in to WEB Interface】
5
GND
