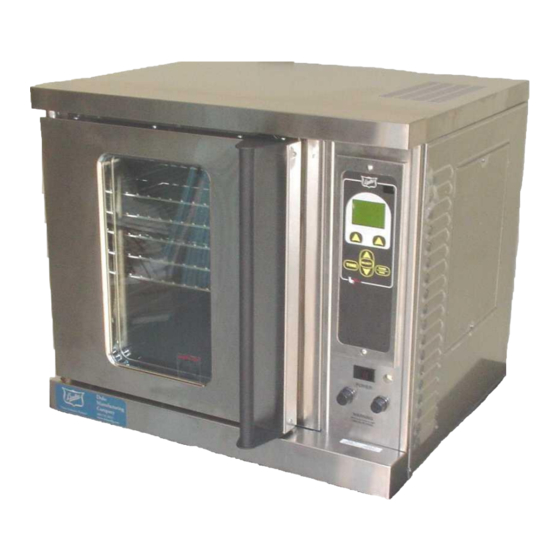
Duke 59 Series Installation And Operation Manual - Page 7
Browse online or download pdf Installation And Operation Manual for Oven Duke 59 Series. Duke 59 Series 20 pages. Ovens with “zp” control panel
Also for Duke 59 Series: Owner's Manual (20 pages)

INSTALLATION INSTRUCTIONS - continued
E. OVEN ASSEMBLY
Before assembling and installing the oven, please
check to make sure that all necessary parts are
present. In addition to the oven itself, there will also
be four legs, four feet or four casters, the vent guard,
(for double sections: retaining clips & vent riser) and
miscellaneous hardware. Please check the interior of
all oven sections for the parts needed to assemble
and install the oven(s).
Leg Attachment
1. Once the oven has been removed from the carton,
lay it on its left side (the side without the controls).
This will require 2 people.
Failure to use 2 people could result in
personnal harm and damage to unit.
2. Hold the leg and align with the matching
holes in base and leg flange. Carefully start
the 5/16X18 bolts, (avoid cross-threading), by
turning clockwise and tighten to the nearest
full turn. A total of (8) 15/16-18 X 3/4 bolts, flat
washers and lock washers are required to secure
all legs.
Note: Legs may have casters or bullet feet.
Caster Installation
•
Casters are available as an option for both the
single and double oven sections.
•
The installation of casters requires the removal of
the adjustable feet from the legs. This is done by
placing the bit of a large screwdriver against the lip
of the foot and rapping the screwdriver to drive the
foot out of the leg. The caster is then inserted fully
into the opening where the foot came out and the
locking nut tightened to expand the compression
sleeve of the caster.
NOTE: The casters with locking brakes
are best mounted on the front side of
the oven for easier access.
NOTE: If you plan to use casters, a fixed
restraint of the proper length must
be incorporated to secure the oven to
a non-movable surface to eliminate strain on the
power cord. If the oven is removed from its normal
position, the restraint must then be reattached when
returned.
Installation and Operation of 5/9 Electric Convection Oven
Washer
Lock
Washer
Bolt
3. If needed install the storage shelves between the
four (4) legs and secure with the four self tapping
bolts provided.
Level the oven by turning the adjustable feet in or
out as needed.
Double Sections
•
Secure the short legs to the bottom of the lower
section as described in previous section.
•
Casters are installed by the method described for
single section ovens in the previous section.
•
Place the oven in the upright position and mount
the top oven and secure to lower oven as shown
on page 8.
•
Install flue guard (if required) as shown on page 8.
7
