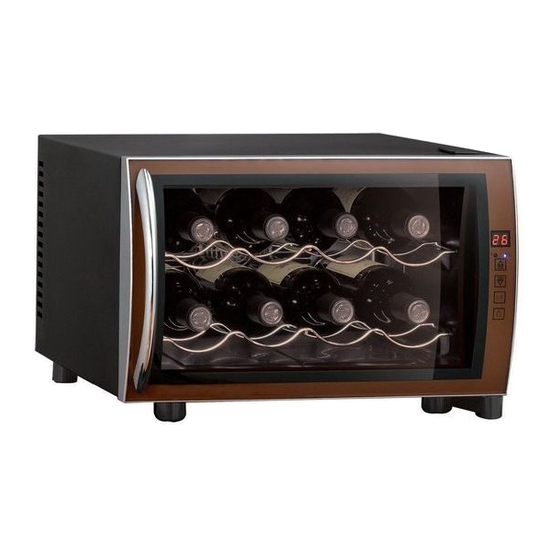
Dunavox DX-8.25CD Instruction Manual - Page 7
Browse online or download pdf Instruction Manual for Wine Cooler Dunavox DX-8.25CD. Dunavox DX-8.25CD 8 pages.

OPERATING YOUR WINE REFRIGERATOR
HOW TO USE THE PRESS-BUTTONS ON THE DISPLAY PANEL:
CARE AND MAINTENANCE
CLEANING YOUR WINE REFRIGERATOR
MOVING YOUR WINE REFRIGERATOR
It is recommended that you installed the wine refrigerator in a place where the
ambient temperature is between 10-26 °C(50-80 °F) .If the ambient temperature
is above or below recommended temperatures, the performance of the unit may
be affected. For example, placing in extreme cold or hot conditions may cause
interior temperature to fluctuate. The range of 8-18 °C (45-66 °F) may not be
reached, cooling system and/or fan can operate nonstop. Such events are NOT
technical failures. Should the ambient temperature be constantly higher than set
temperature plus 15 °C, we recommend you to increase the set temperature,
otherwise the nonstop operation of the cooling system leads to the defect of the
Peltier cell and/or the control unit. These failures are out of warranty cases.
The temperature may fluctuate depending on whether or not the interior light is
on or off or whether the bottles are located on the upper, middle or lower section.
You can set the temperature as your desire by pressing the button.
There are three press-button on the panel
temperature by 1 °C among 8-18 °C (45-66 °F) and choosing Celsius or
Fahrenheit.
You can tune the interior light on or off by pressing the "Lamp" button.
Unplug the wine refrigerator and remove the bottles.
Wash the inside with a warm water and baking soda solution. The solution
should be about 2 tablespoons of baking soda to a quart of water.
The outside of wine refrigerator should be cleaned with mild detergent and warm
water.
Draw out the water box at the bottom, and wash.
Remove all the bottles.
Securely tape down all loose items inside your wine refrigerator.
Turn the leveling legs up to the base to avoid damage.
Tape the door.
INSTRUCTION MANUAL
7
and
to adjust the
