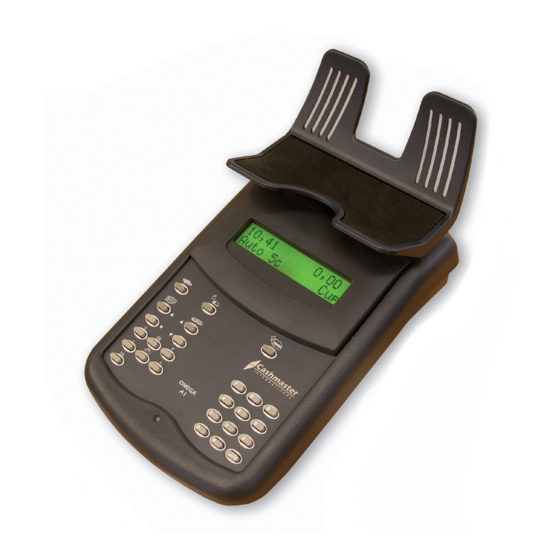
Cashmaster omega 200 Quick Start Manual - Page 7
Browse online or download pdf Quick Start Manual for Cash Counter Cashmaster omega 200. Cashmaster omega 200 12 pages. + printer

Page 18 of 24
PACKAGED NOTES
Select packaged note mode by pressing the
Packaged Notes key.
The screen will show "VERIFY NOTES IN BAND".
Place the package of notes on the hod - the value is shown on the
display.
If the following message is displayed, then the machine has not
recognised the bundle as a full bundle.
*
SUSPECT
*
BUNDLE
The machine will then display:
REMOVE BUNDLE
AND COUNT
Remove suspect bundle and count, using LOOSE NOTE mode.
If the package is very close to the correct weight value, the machine
will display the denomination and either (-) or (+) to indicate whether
the bundle is light or heavy.
If the light and heavy indicators are repeatedly displayed, it is
probably due to the condition of the notes.
*
*
GETTING STARTED
Place the Omega A1 on a firm, even surface, away from
draughts and vibrations.
Insert NOTE HOD - push down firmly into position.
Plug into mains adaptor (socket at rear of machine) and
switch on at mains.
NOTE: THE COIN SCOOP SHOULD NOT BE
PLACED ON TOP OF THE MACHINE BEFORE
SWITCHING ON.
Press ON/OFF key
Charging
When the Cashmaster is connected to the mains power supply, the
LED on the front will show as either RED or GREEN:
Red: When the LED is RED, this indicates that the battery is
charging. The charging process takes approximately 2 hours.
Green: When the LED is GREEN, this indicates that the battery is
fully charged.
N.B.
WHEN USING THE CP1 PRINTER WITH THE
CASHMASTER IT IS ADVISABLE TO OPERATE THE
OMEGA A1 WHILE IT IS PLUGGED INTO THE MAINS.
Page 7 of 24
