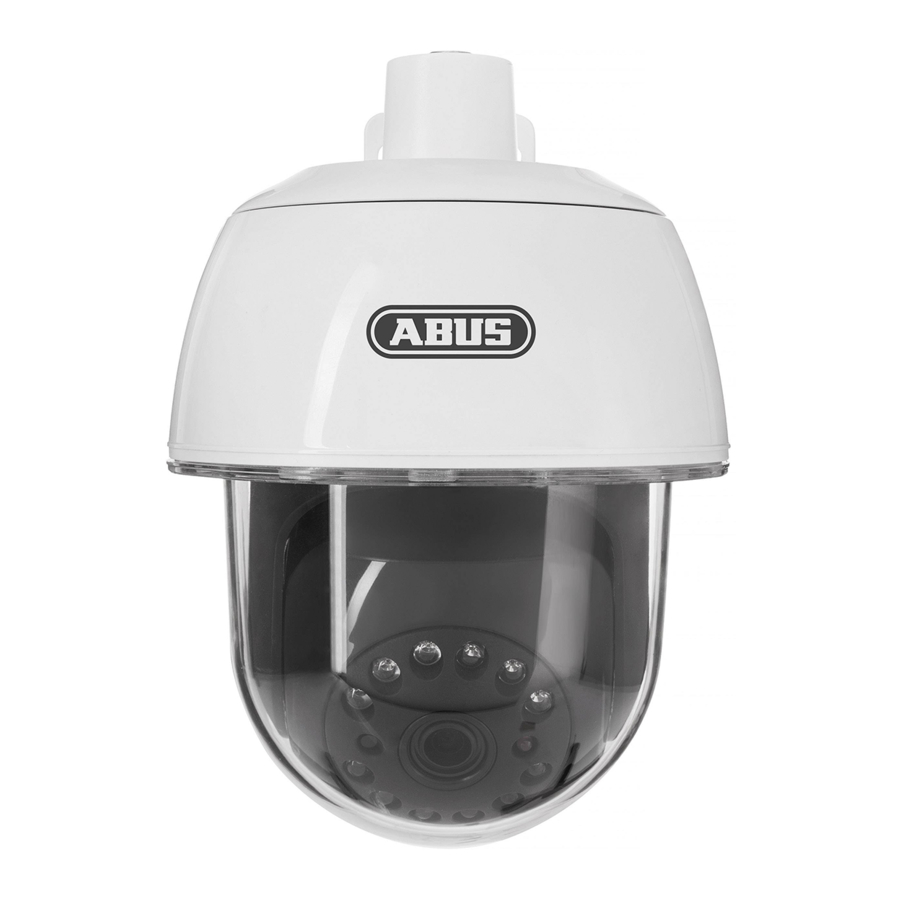
Abus PPIC32520 Quick Manual - Page 4
Browse online or download pdf Quick Manual for Security Camera Abus PPIC32520. Abus PPIC32520 9 pages. Wi -f i pa n/ t ilt o u t d o o r c a me r a
Also for Abus PPIC32520: Quick Manual (8 pages)

W E R K S E I N S T E L L U N G E N
F A C T O R Y R E S E T
6
Auf werkseitige Einstellung zurücksetzen:
Halten Sie die Reset-Taste für ca. 15 Sekunden
mit einem spitzen Gegenstand (z.B. Büroklam-
mer) gedrückt, bis die rote LED erlischt. Die
Kamera wird zurückgesetzt und startet neu.
Die Kamera ist nach ca. 90 Sekunden wieder
im Auslieferungszustand.
Resetting to factory settings:
Hold down the reset button for about 15
seconds using a pointed object (e.g. a paper
clip) until the red LED light goes off. This will
reset the camera and it will restart. The camera
will be restored to its default settings in
approximately 90 seconds.
Einsatzbereit in 60 Sekunden:
Sobald die rote LED 3x kurz,
1x lang blinkt.
Ready in 60 seconds:
When the red LED flashes quickly
three times and then once for longer.
K A M E R A M O N T A G E
C A M E R A I N S T A L L A T I O N
Montage der Kamera: „Unterputz-Verlegung"
Installing the camera: „Flush installation"
1
Für Rauputz geeignet:
Wird die Kamera auf einer Rauputz-Wand
installiert, verwenden Sie den beiliegenden
EVA-Schaum und kleben Sie diesen auf die
Rückseite der Halterung.
Suitable for roughcast:
The camera is placed on a rough plaster wall
installed, use the enclosed EVA foam and stick
it on the Back of the bracket.
3
Verbinden Sie die Kamera wieder mit der
Halterung und führen Sie die Kabel durch
die Halterung. Schrauben Sie anschließend
die Kamera mit Halterung an die Wand.
Reconnect the camera to the bracket and feed
the cables through the bracket. Then screw the
camera with the bracket to the wall.
2
Trennen Sie zuerst die Halterung von der Kamera
mit dem beiliegenden Imbus-Schlüssel. Legen Sie
die Halterung an den gewünschten Installations-
ort der Kamera. Zeichnen und bohren Sie die
benötigten Löcher. Legen Sie die beiliegenden
Dübel ein.
First disconnect the mount from the camera using
the supplied Allen key. Place the bracket to the
desired installation location of the camera. Draw
and drill the required Holes. Insert the enclosed
dowels.
7
